To start collecting data on how your visitors are behaving, you’ll need to first add your unique project tracking code. You can add the tracking code to multiple sites if you want to monitor your users across domains.
Before starting ensure you’ve got your project tracking code at hand. If not, see View Tracking Code.
If you’re hosting on one of the following platforms please refer to the relevant user guide to get started.
-
BigCommerce
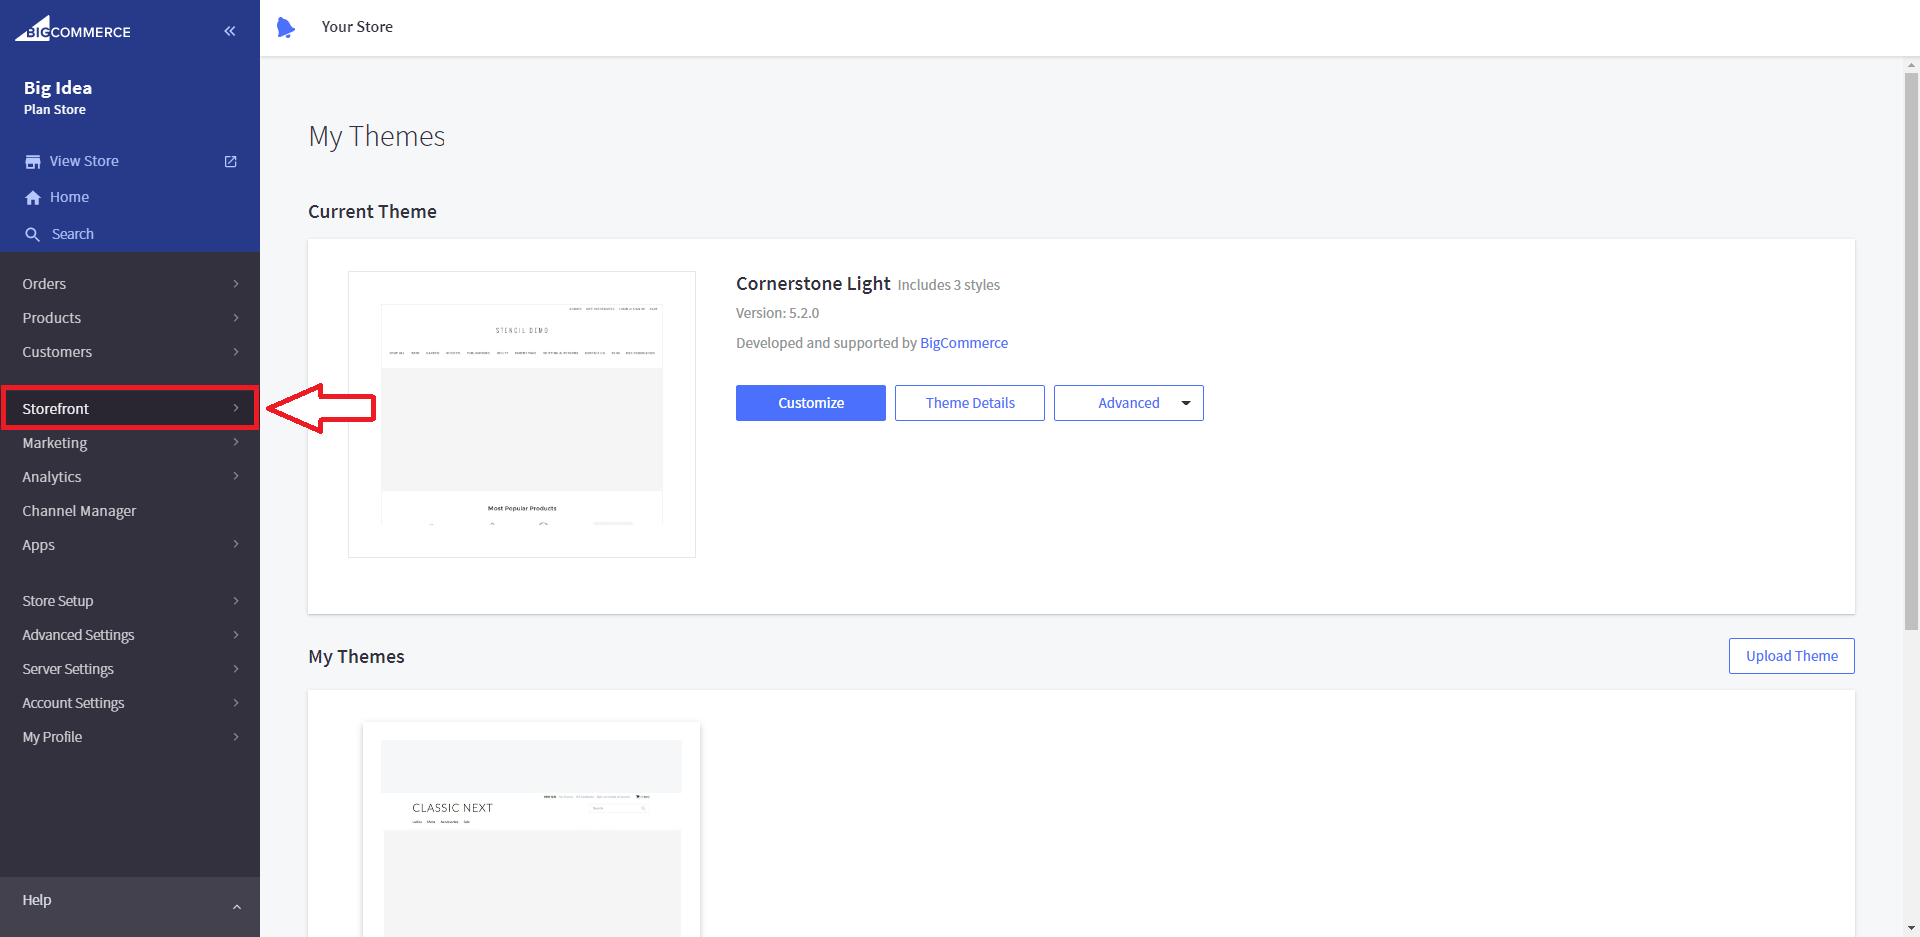
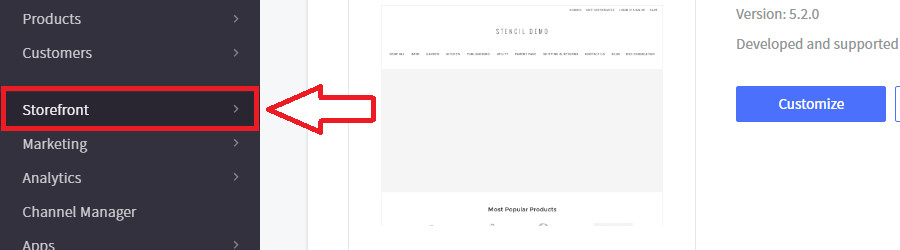
- Login to your BigCommerce store and head to the admin area.
- From here select Storefront
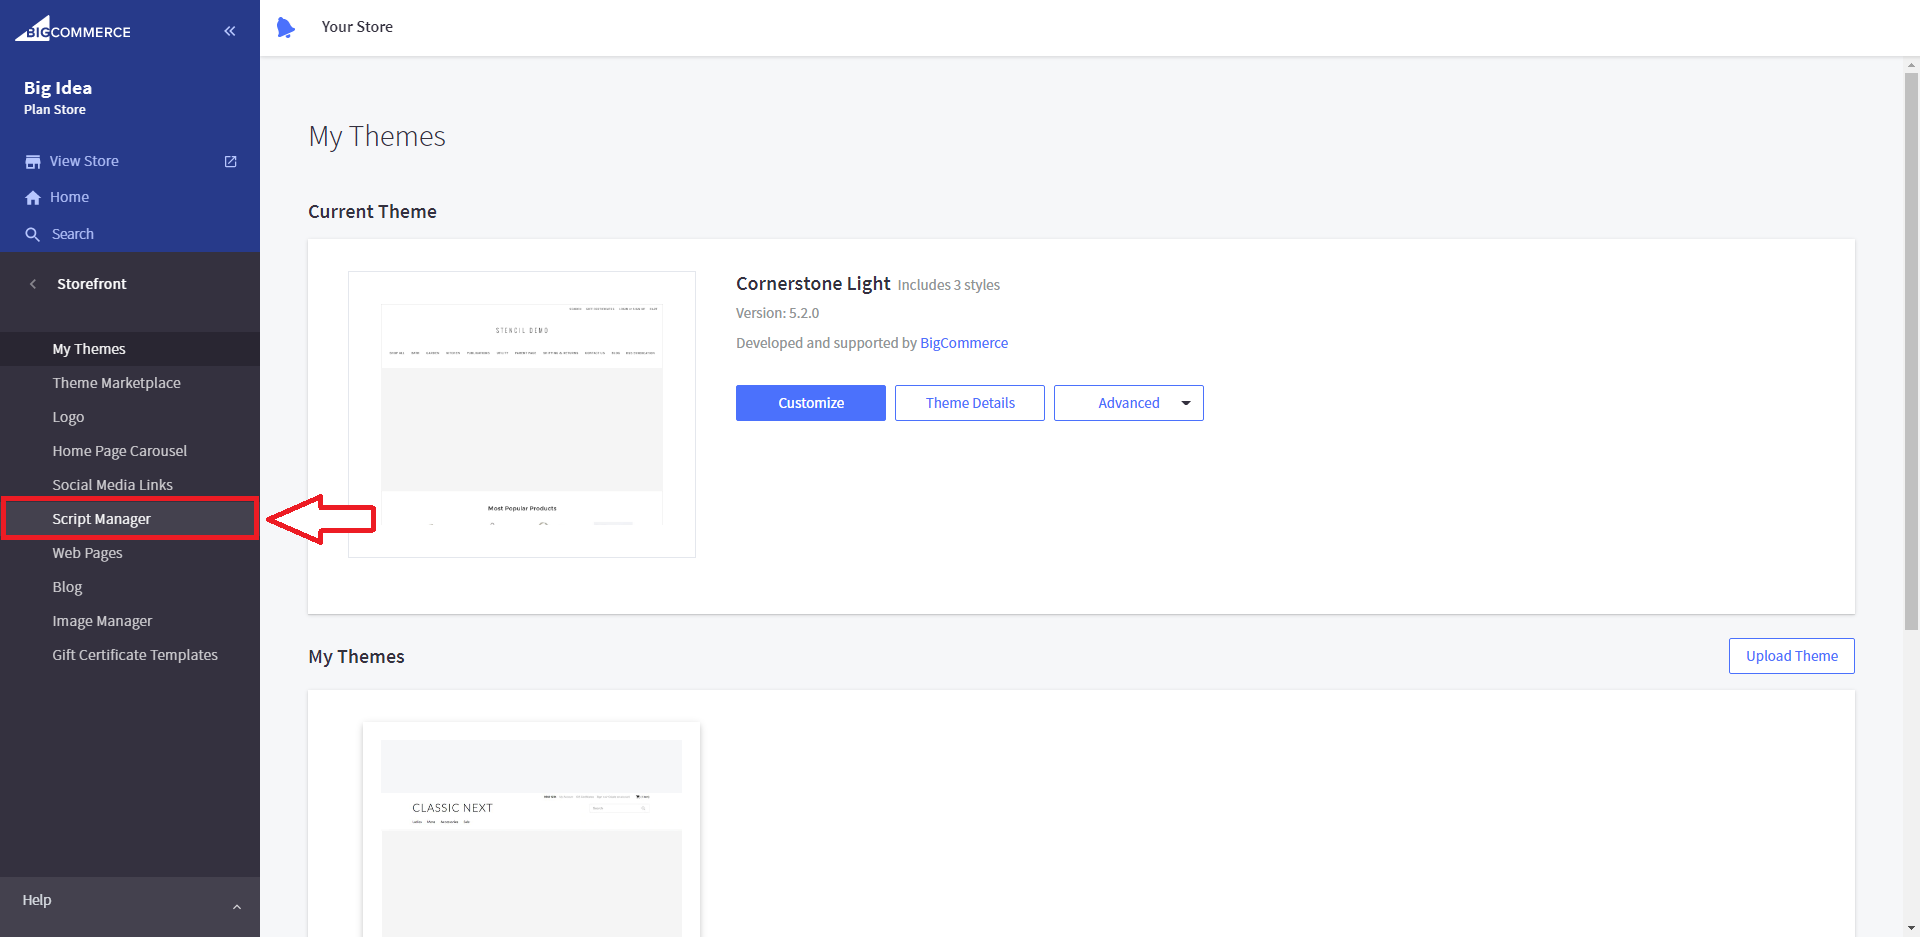
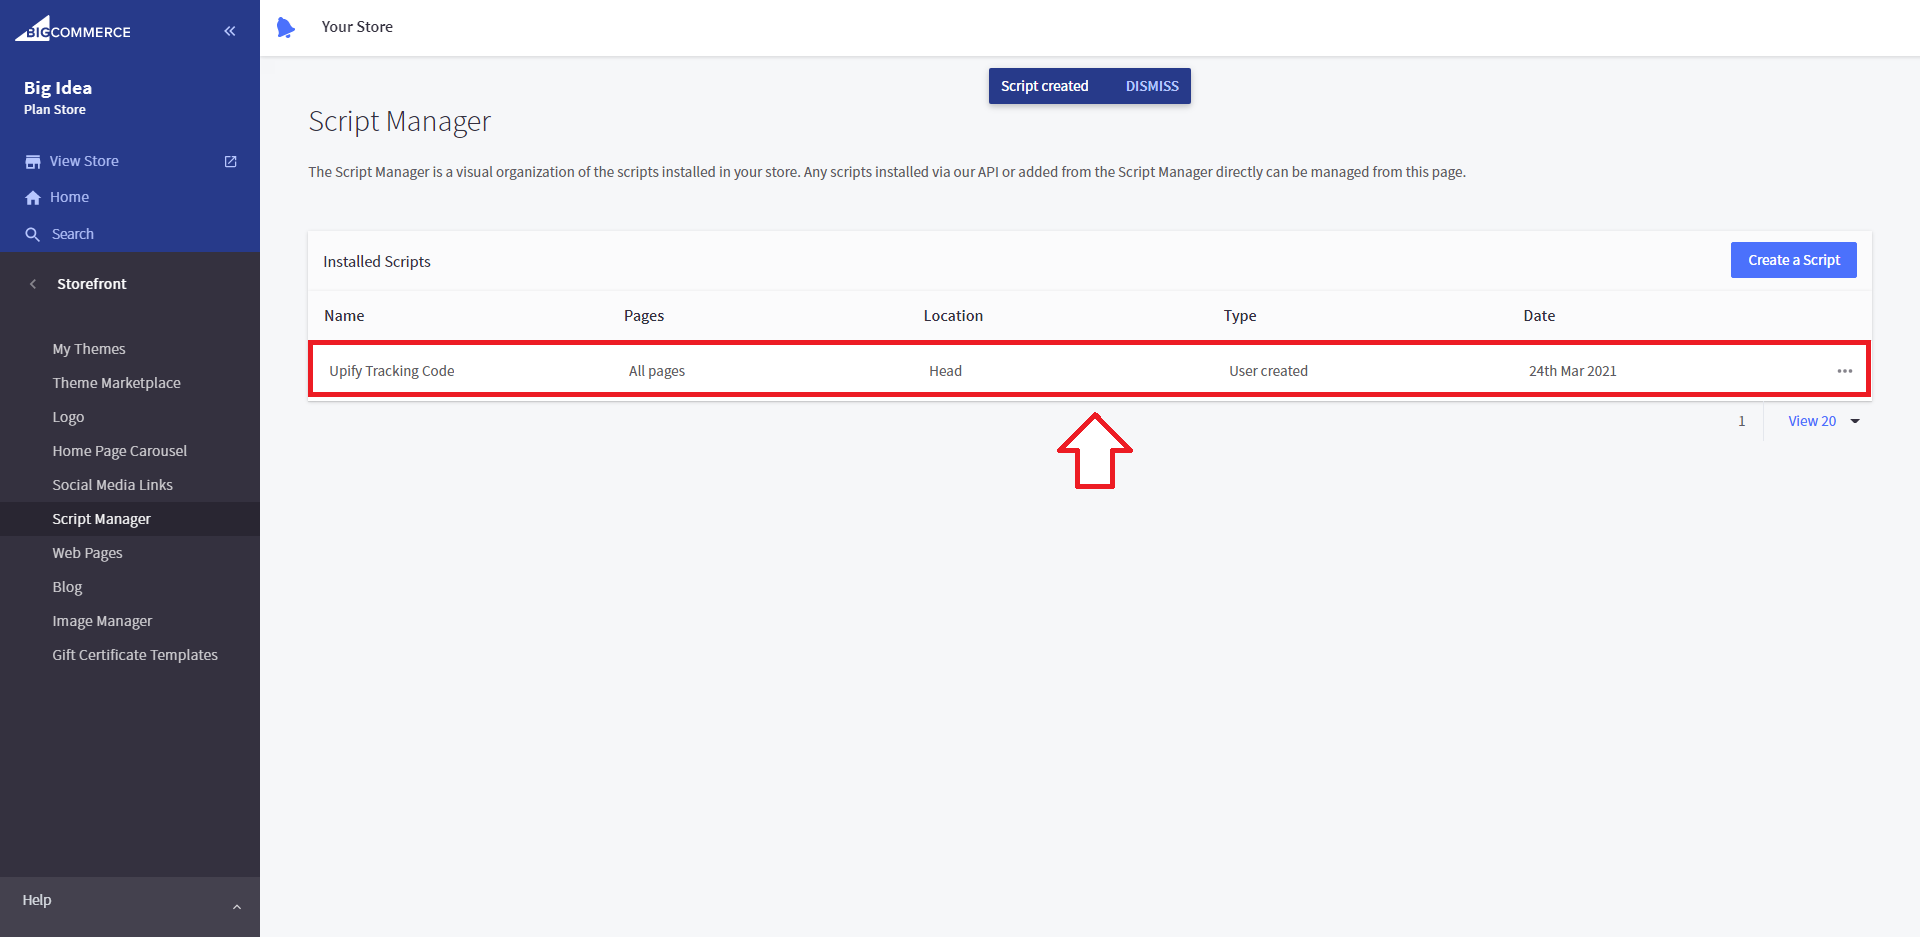
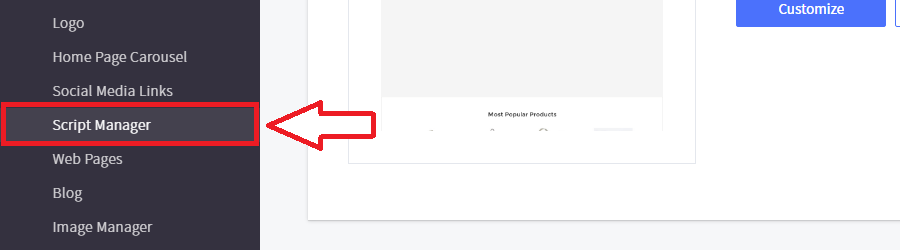
- Under Storefront choose the “Script Manager” option.
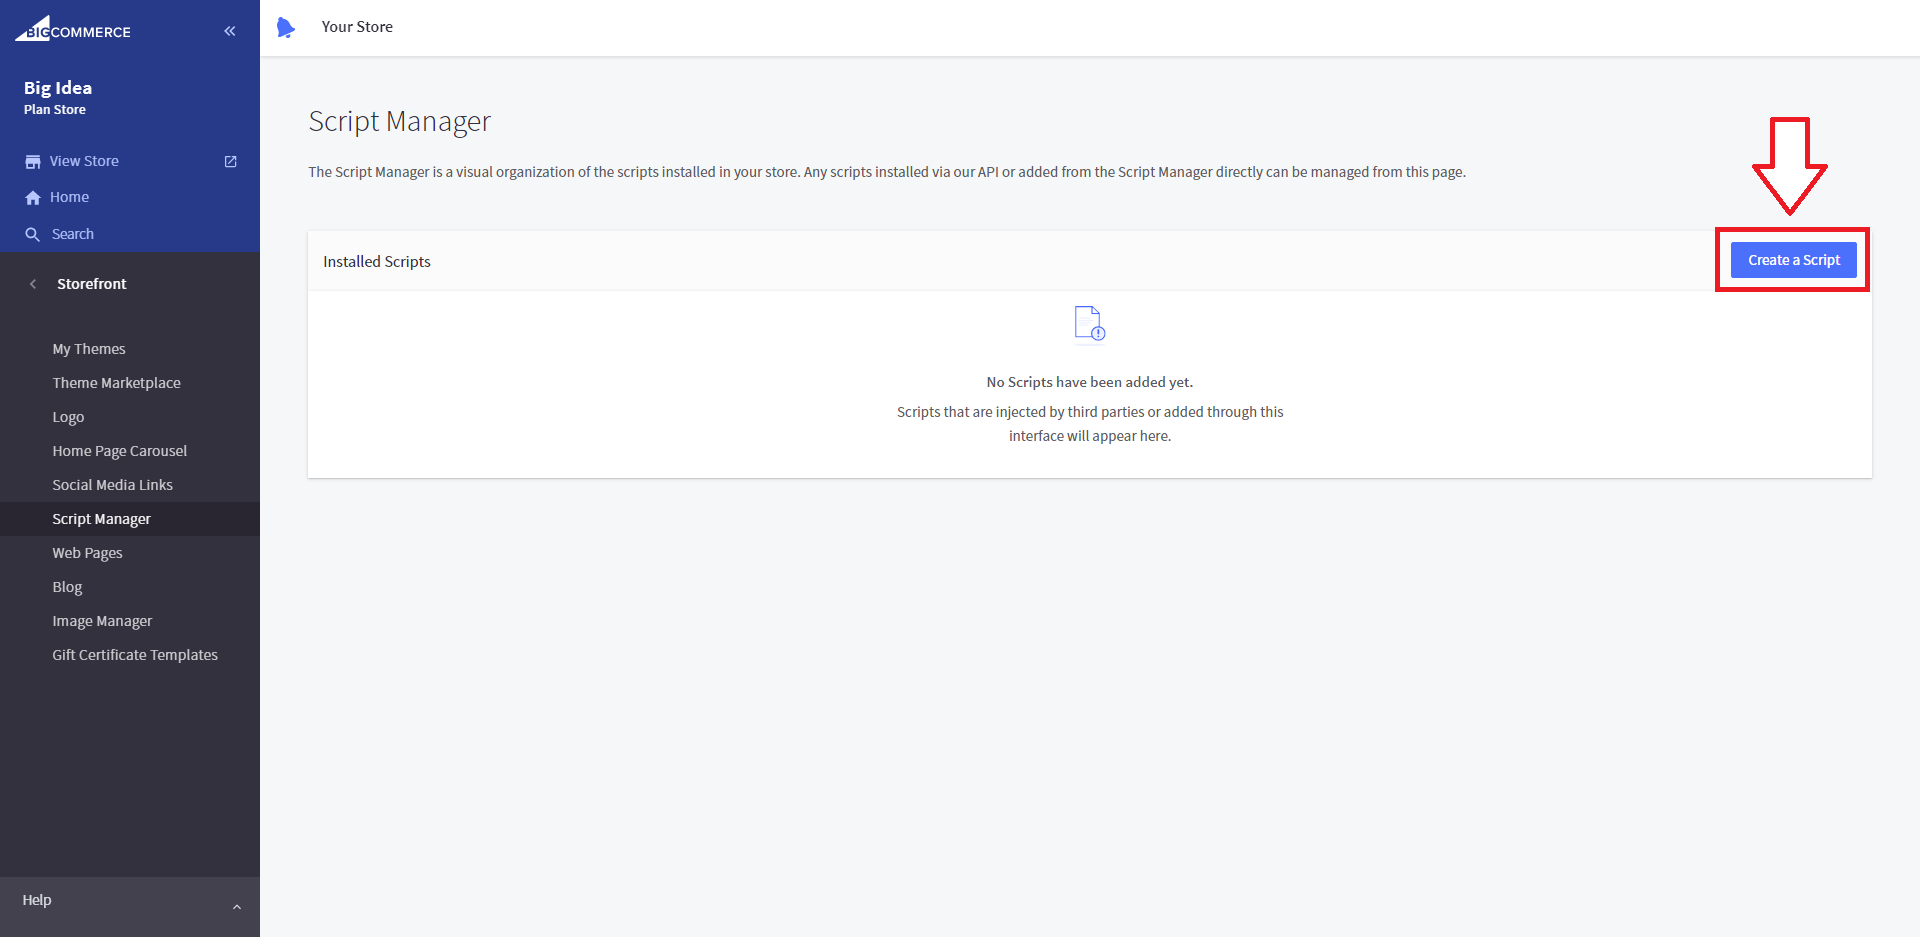
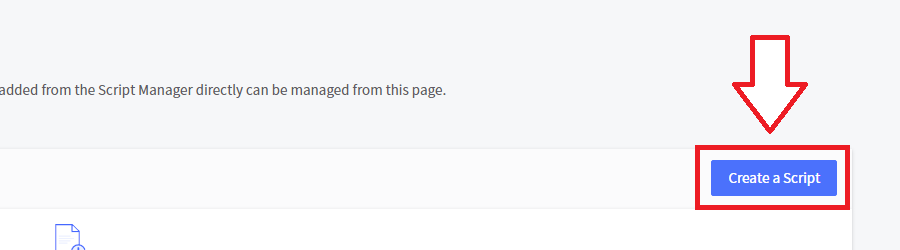
- Press “Create a Script” to begin adding the tracking code.
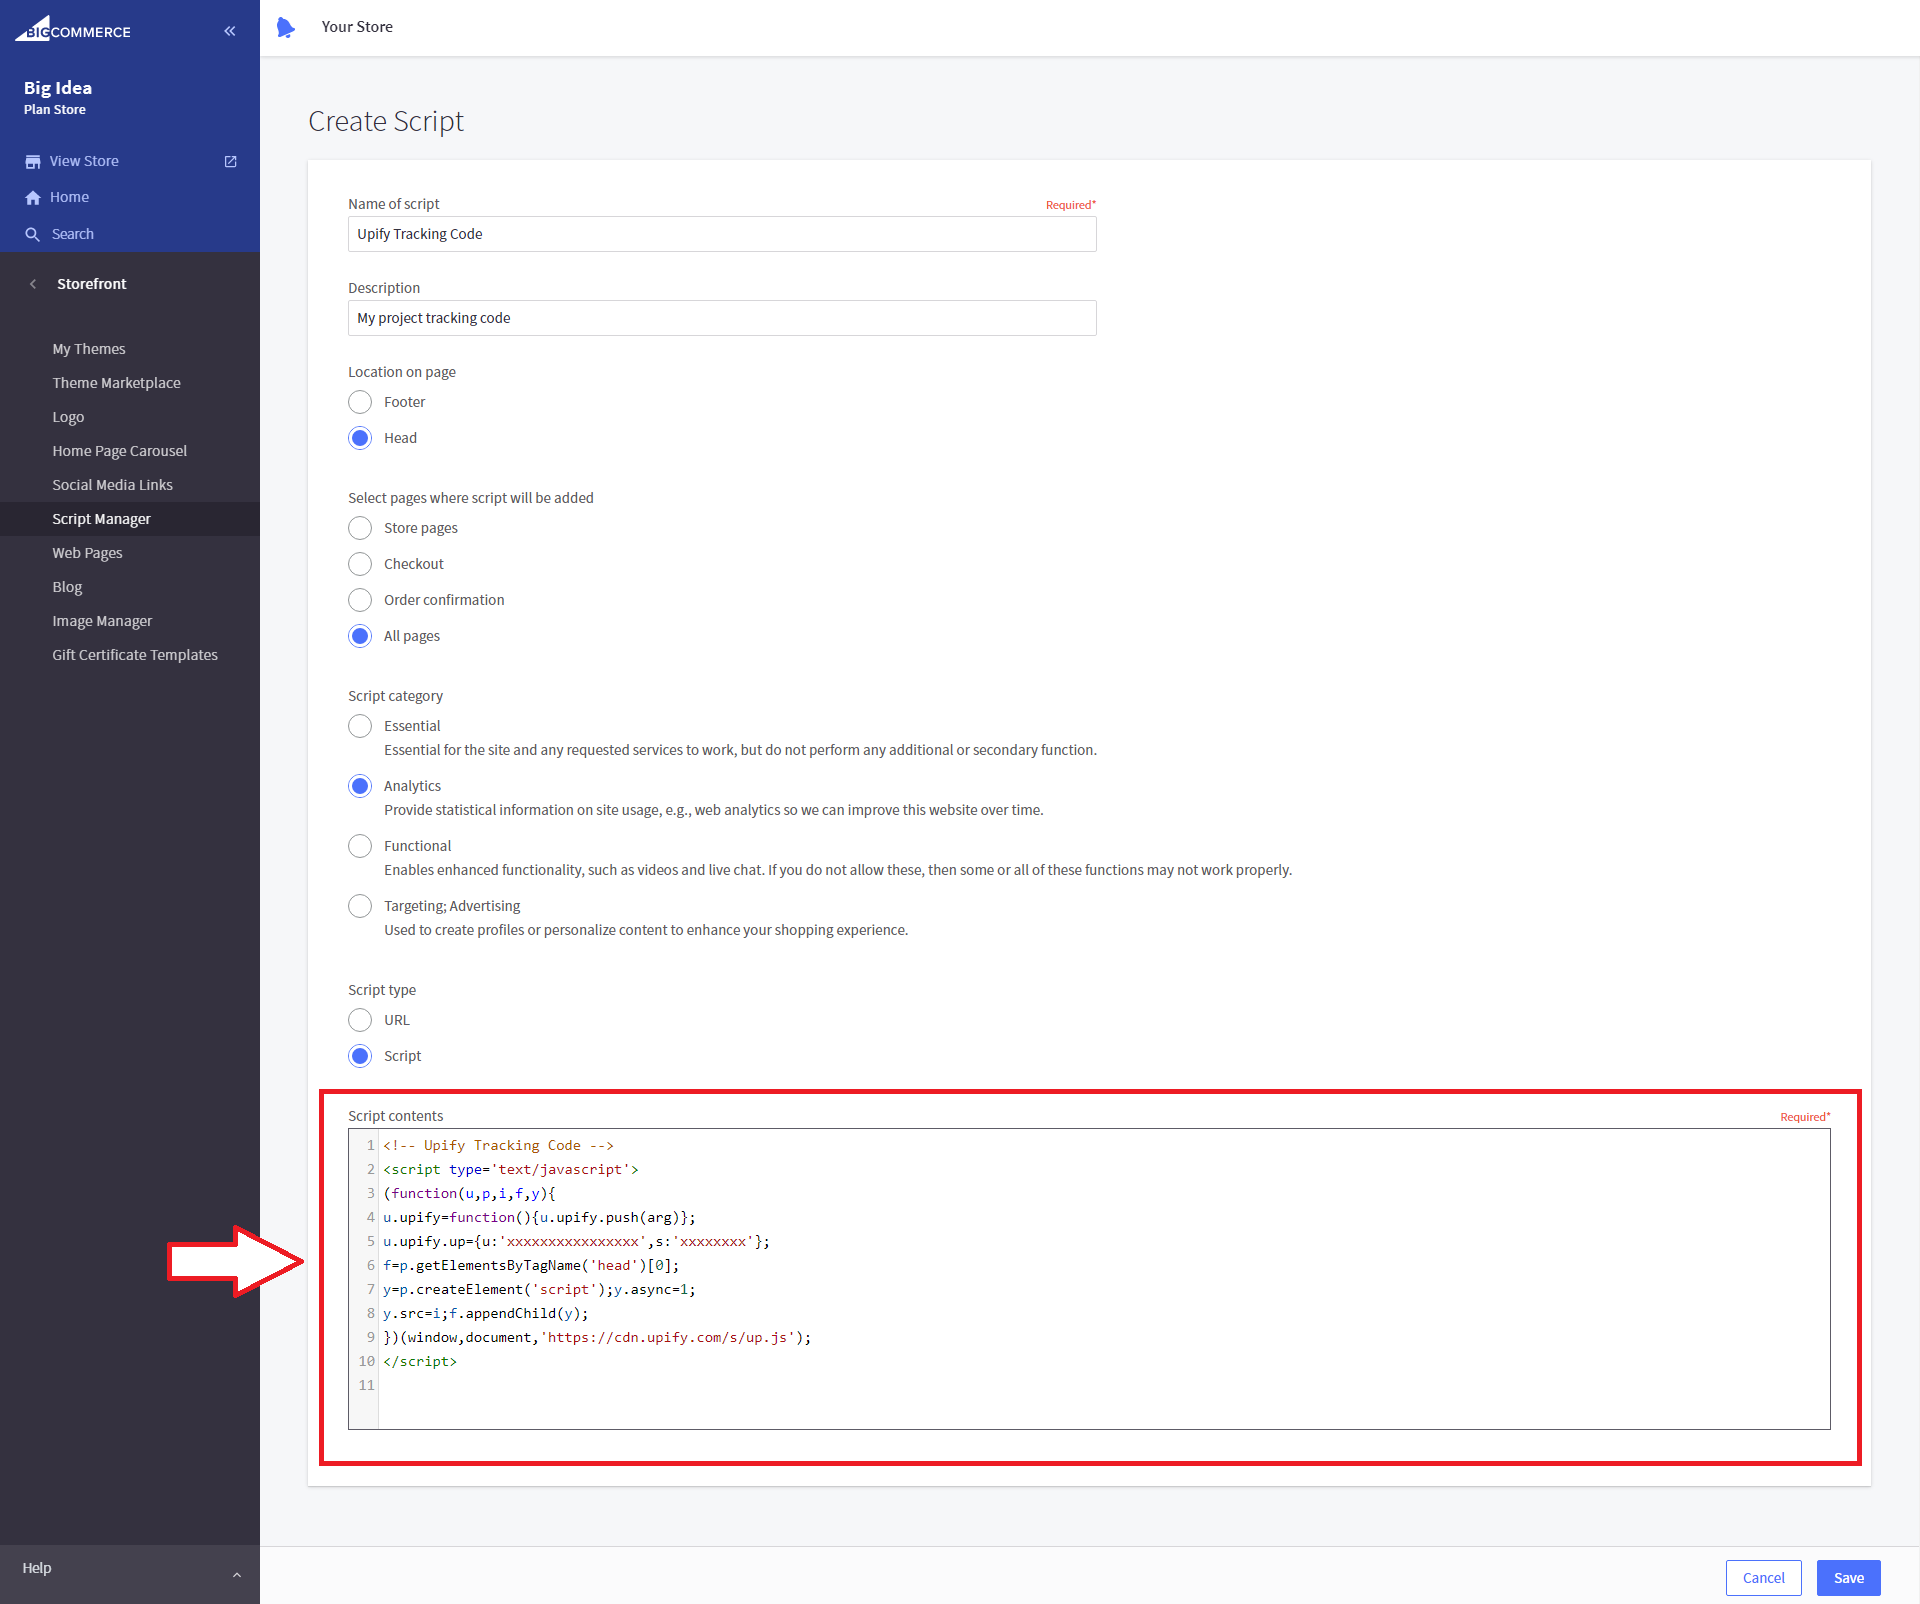
- When creating a script, give your script a name and description for future reference.
- Choose “Head” for the code location.
- Choose “All pages” to ensure tracking is added to all pages.
- Choose “Analytics” for the category.
- Choose “Script” for the script type.
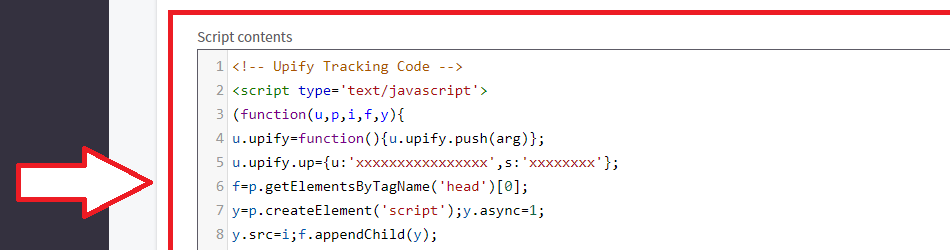
- Paste your unique project tracking code into “Script contents”.
- Once you’re happy with the setup, press “Save” to confirm.
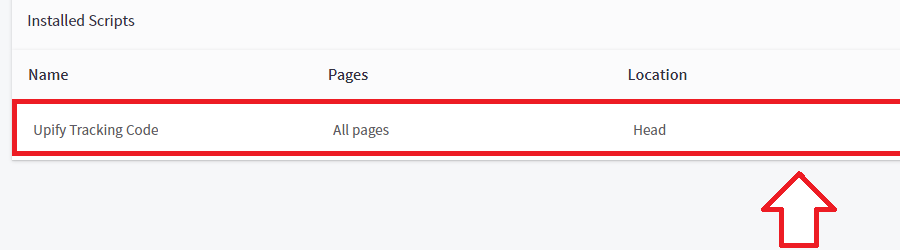
- The tracking code has now been saved and should be output on your site.
- Note: You can view your tracking code in future from the “Script Manager” page.
-
Magento
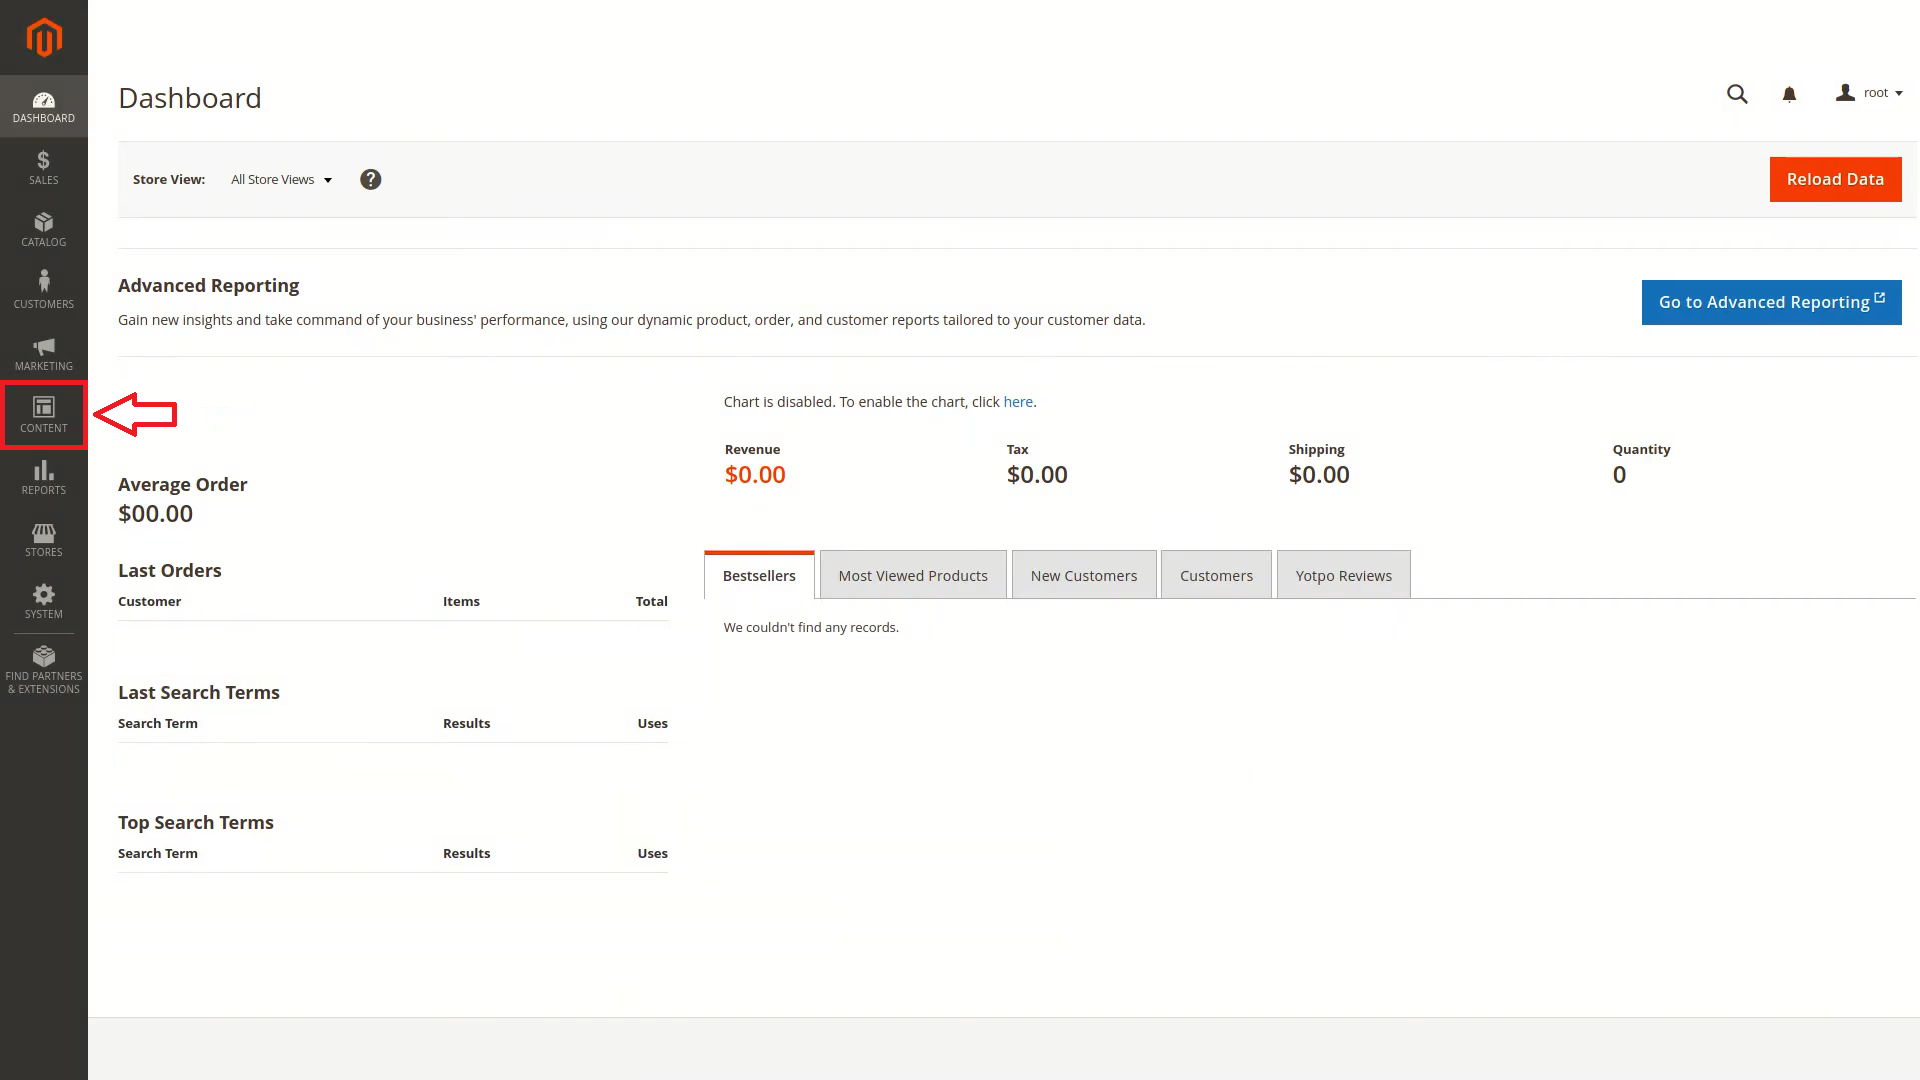
- Login to your Magento store and head to the account area.
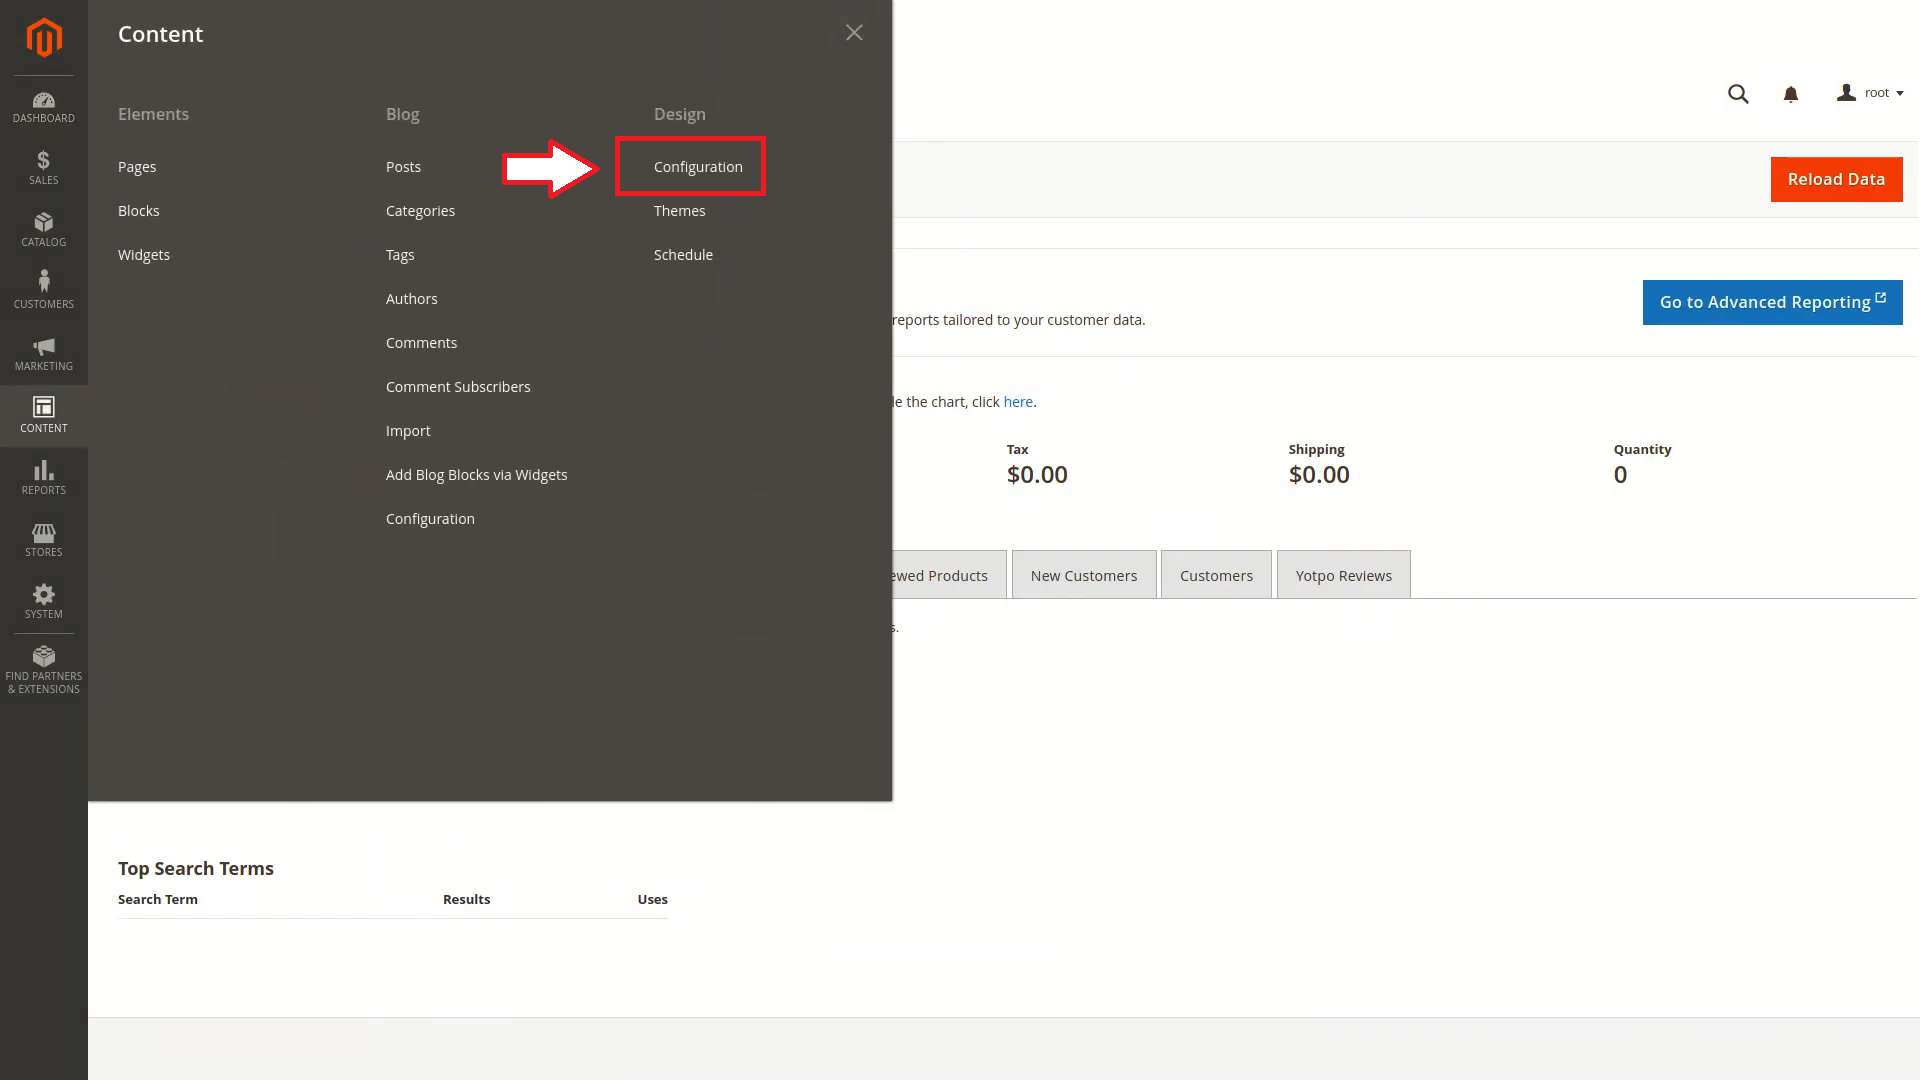
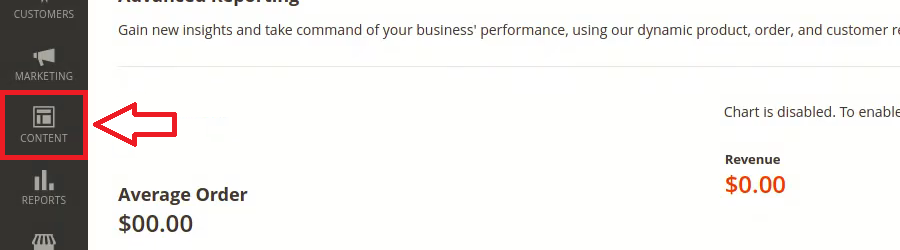
- On the side menu select “Content”.
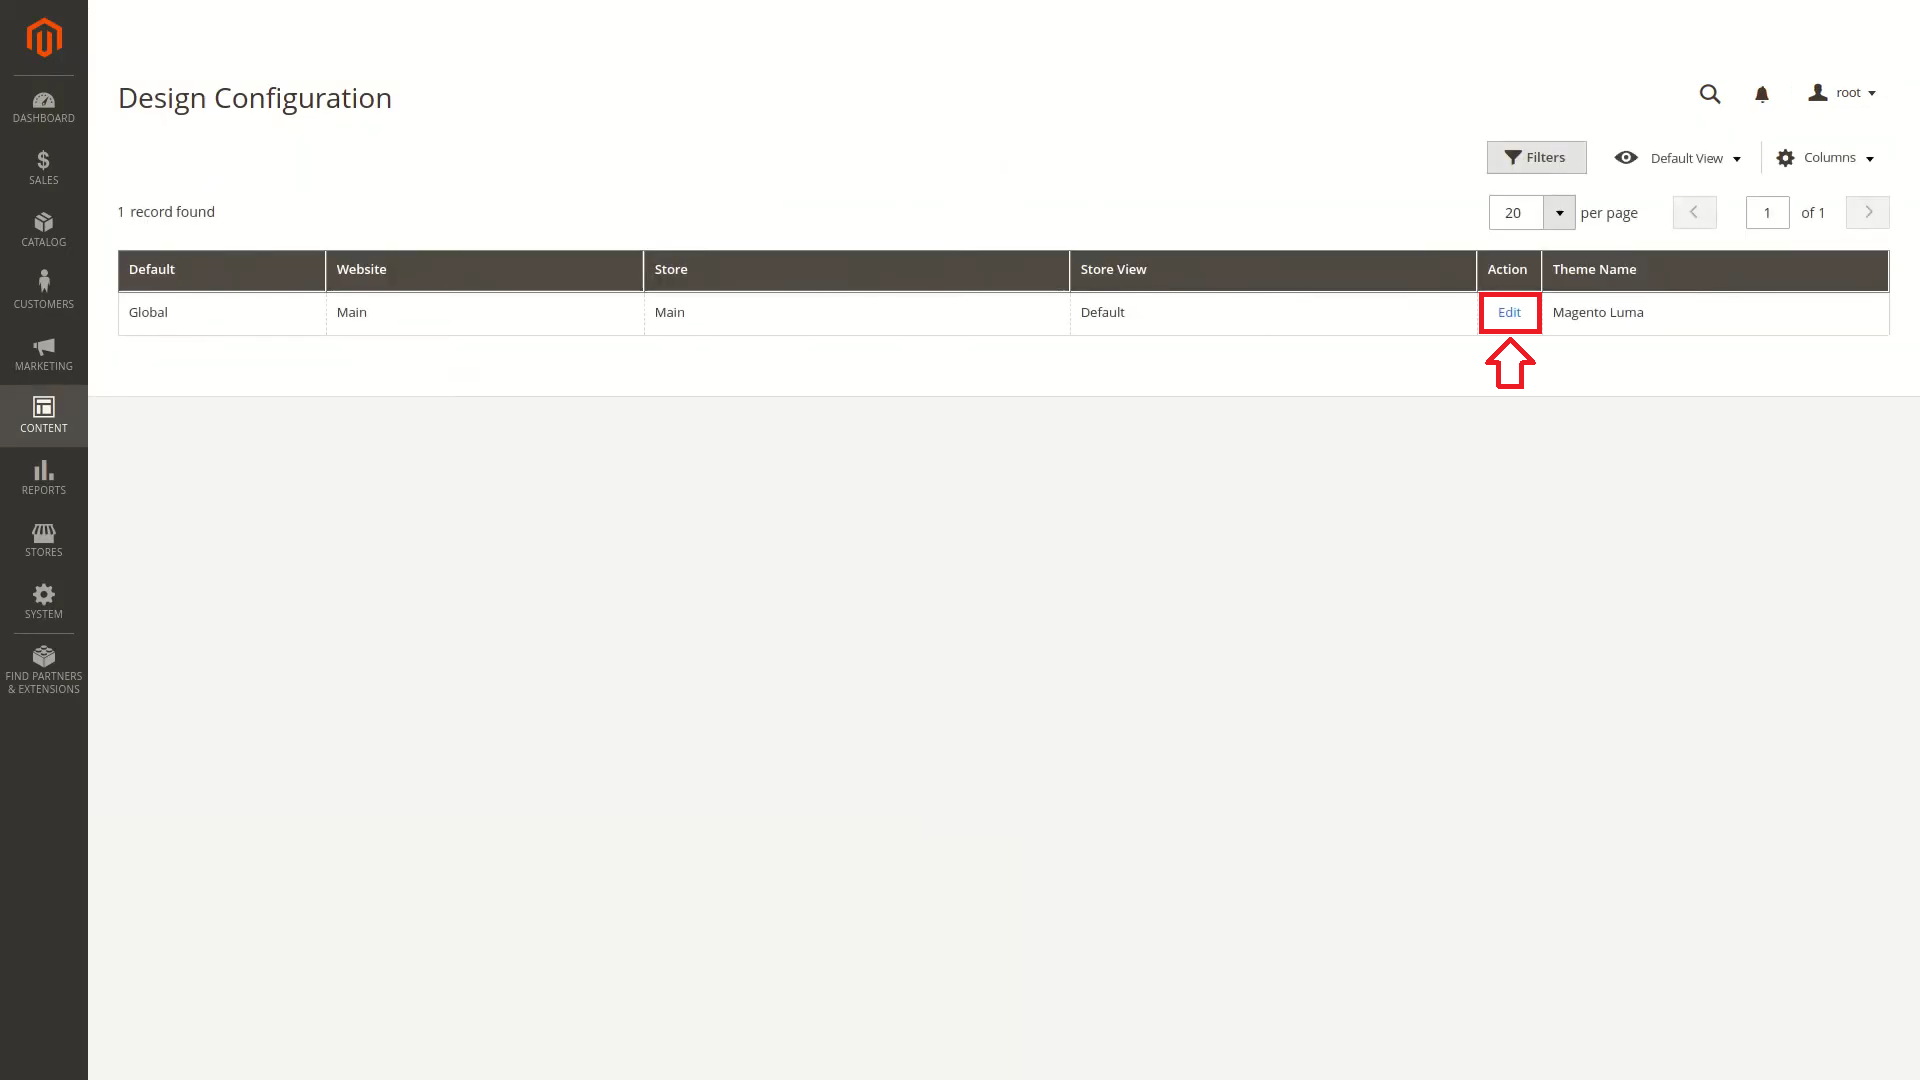
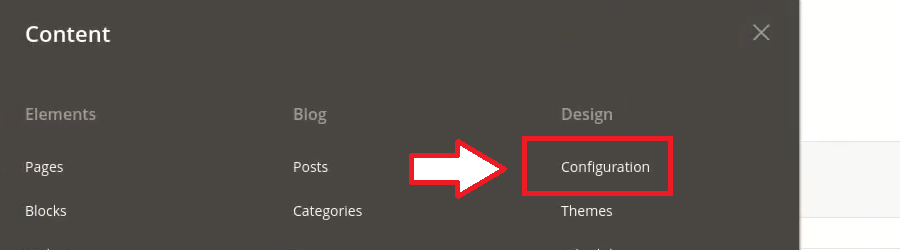
- In the expanded menu under design select “Configuration”.
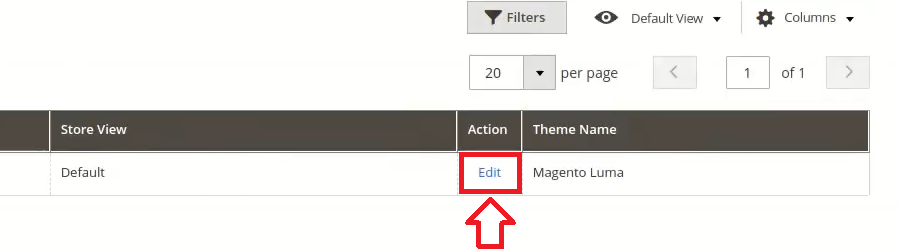
- Under Action select “Edit”.
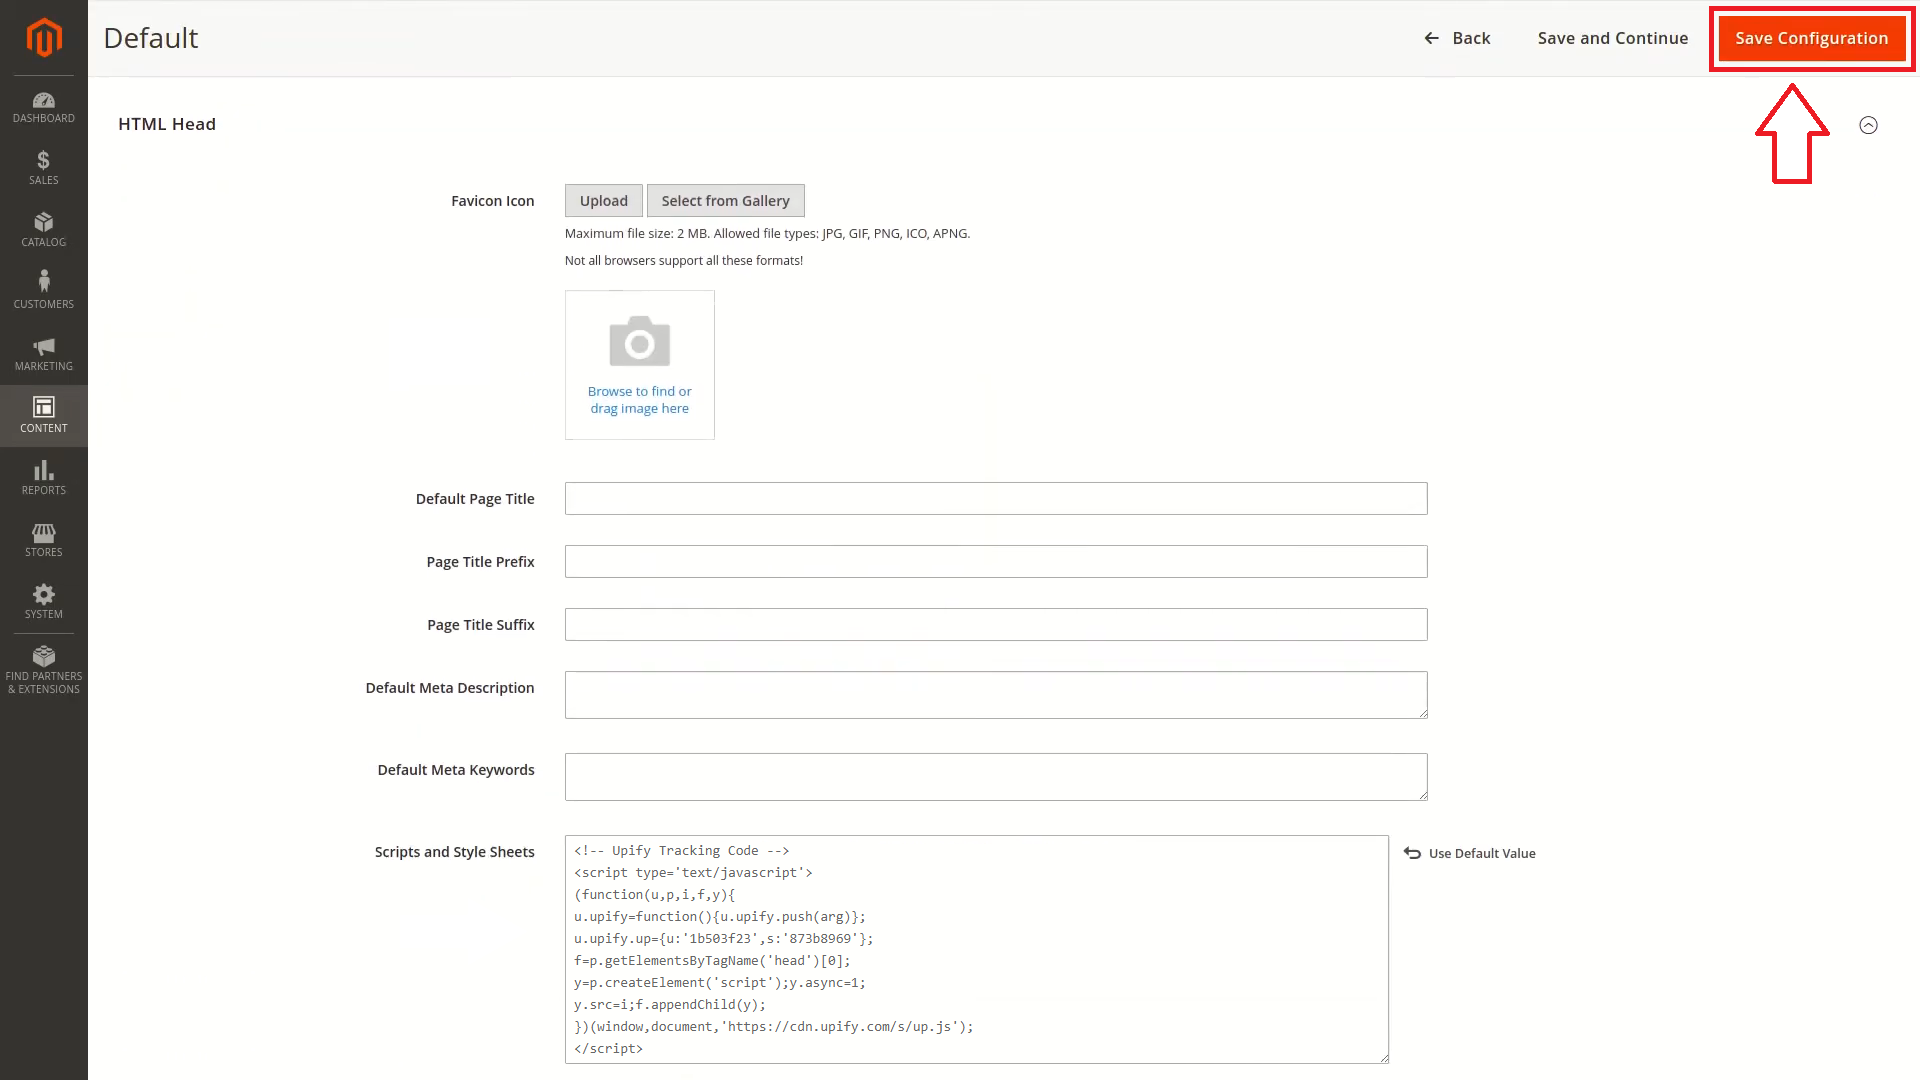
- Scroll down to HTML Head and expand the section.
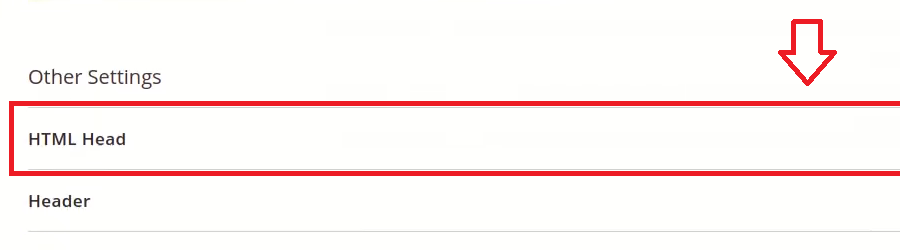
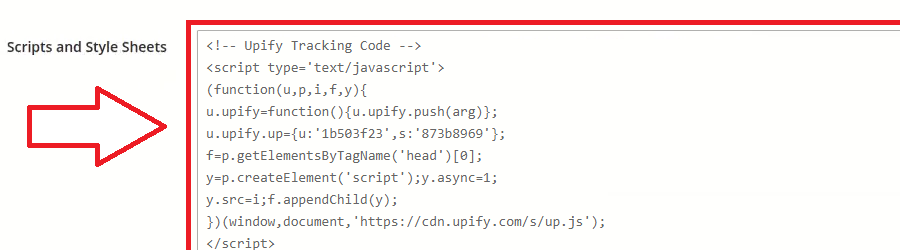
- Under “Scripts and Style Sheets” add your unique project tracking code.
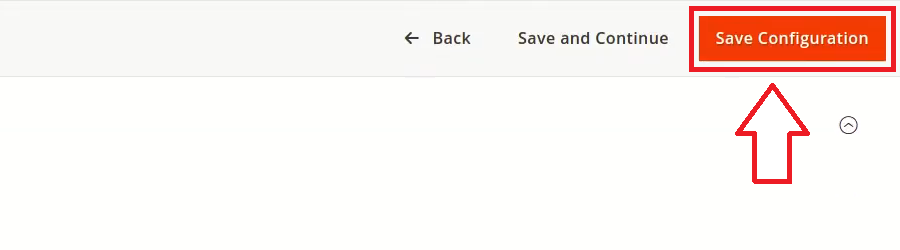
- Press “Save Configuration” to add the tracking code to your store.
-
Shopify
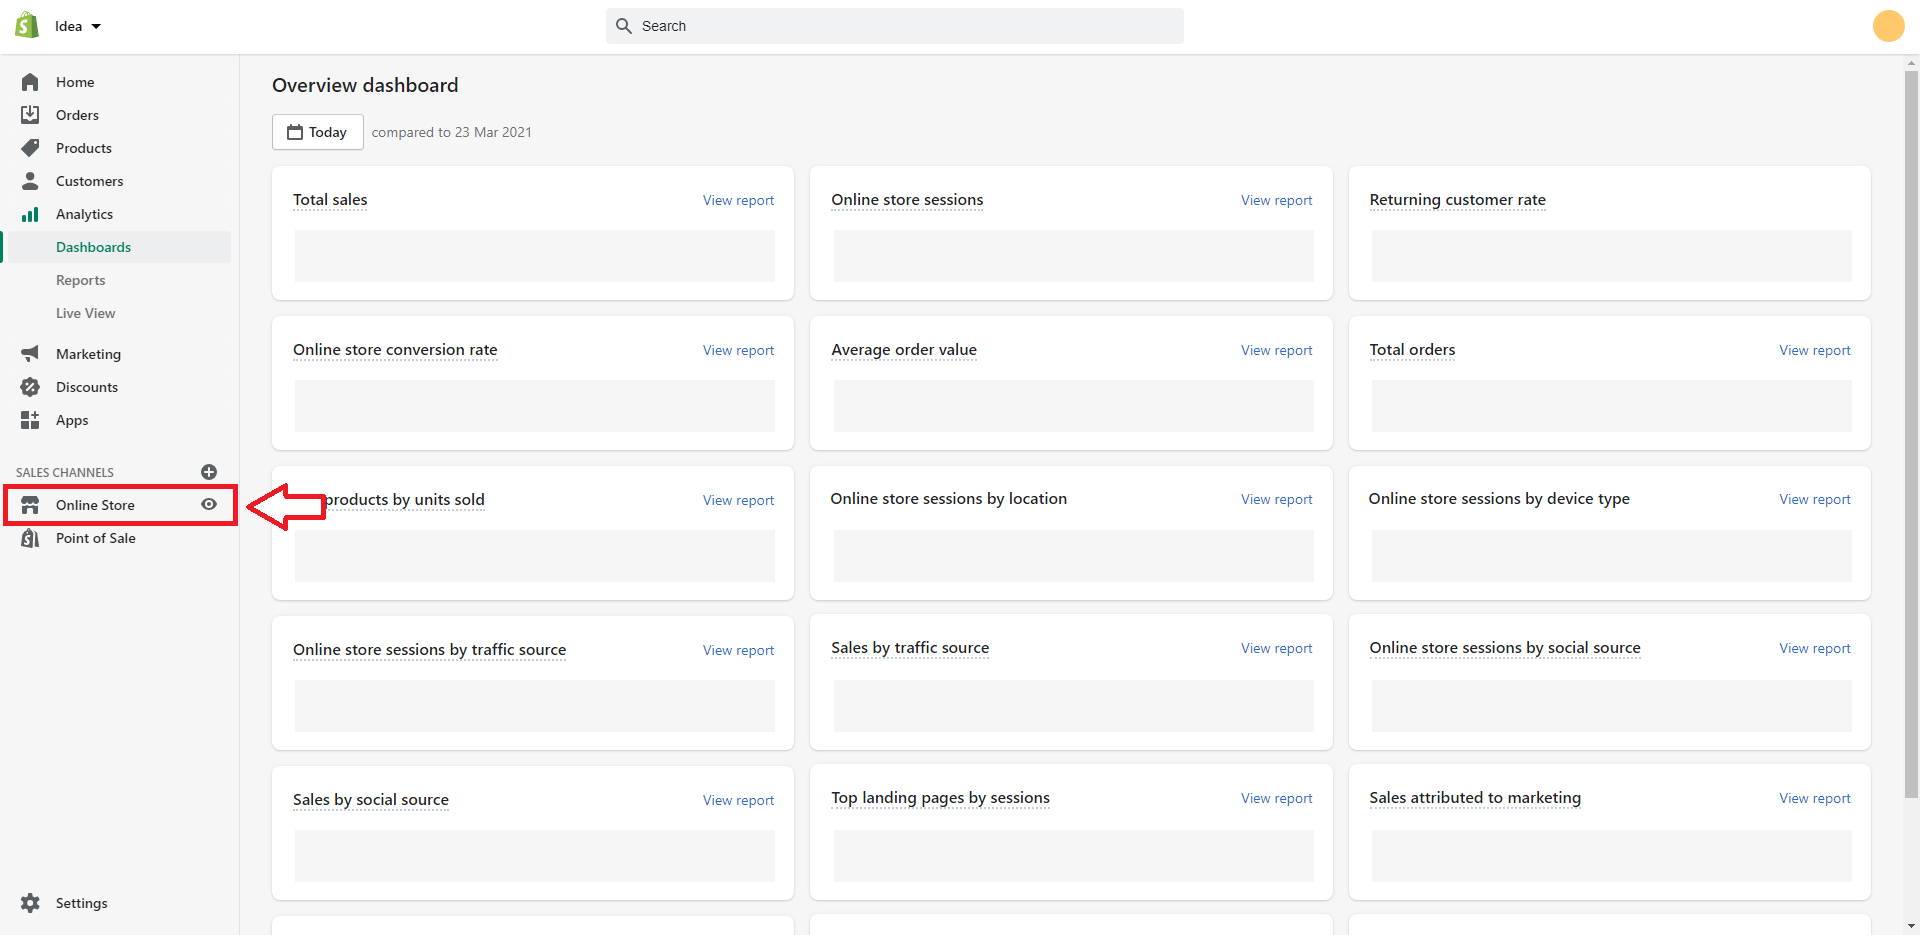
- Login to your Shopify store and head to the admin area.
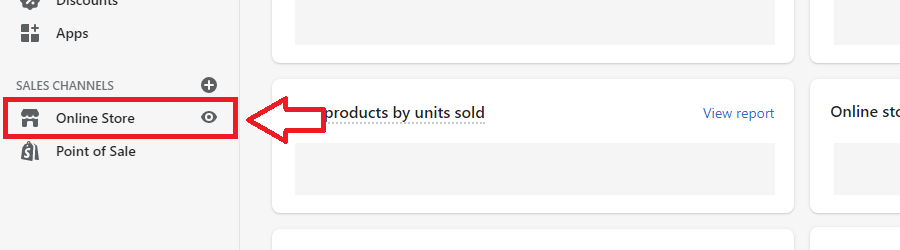
- From here select “Online Store”.
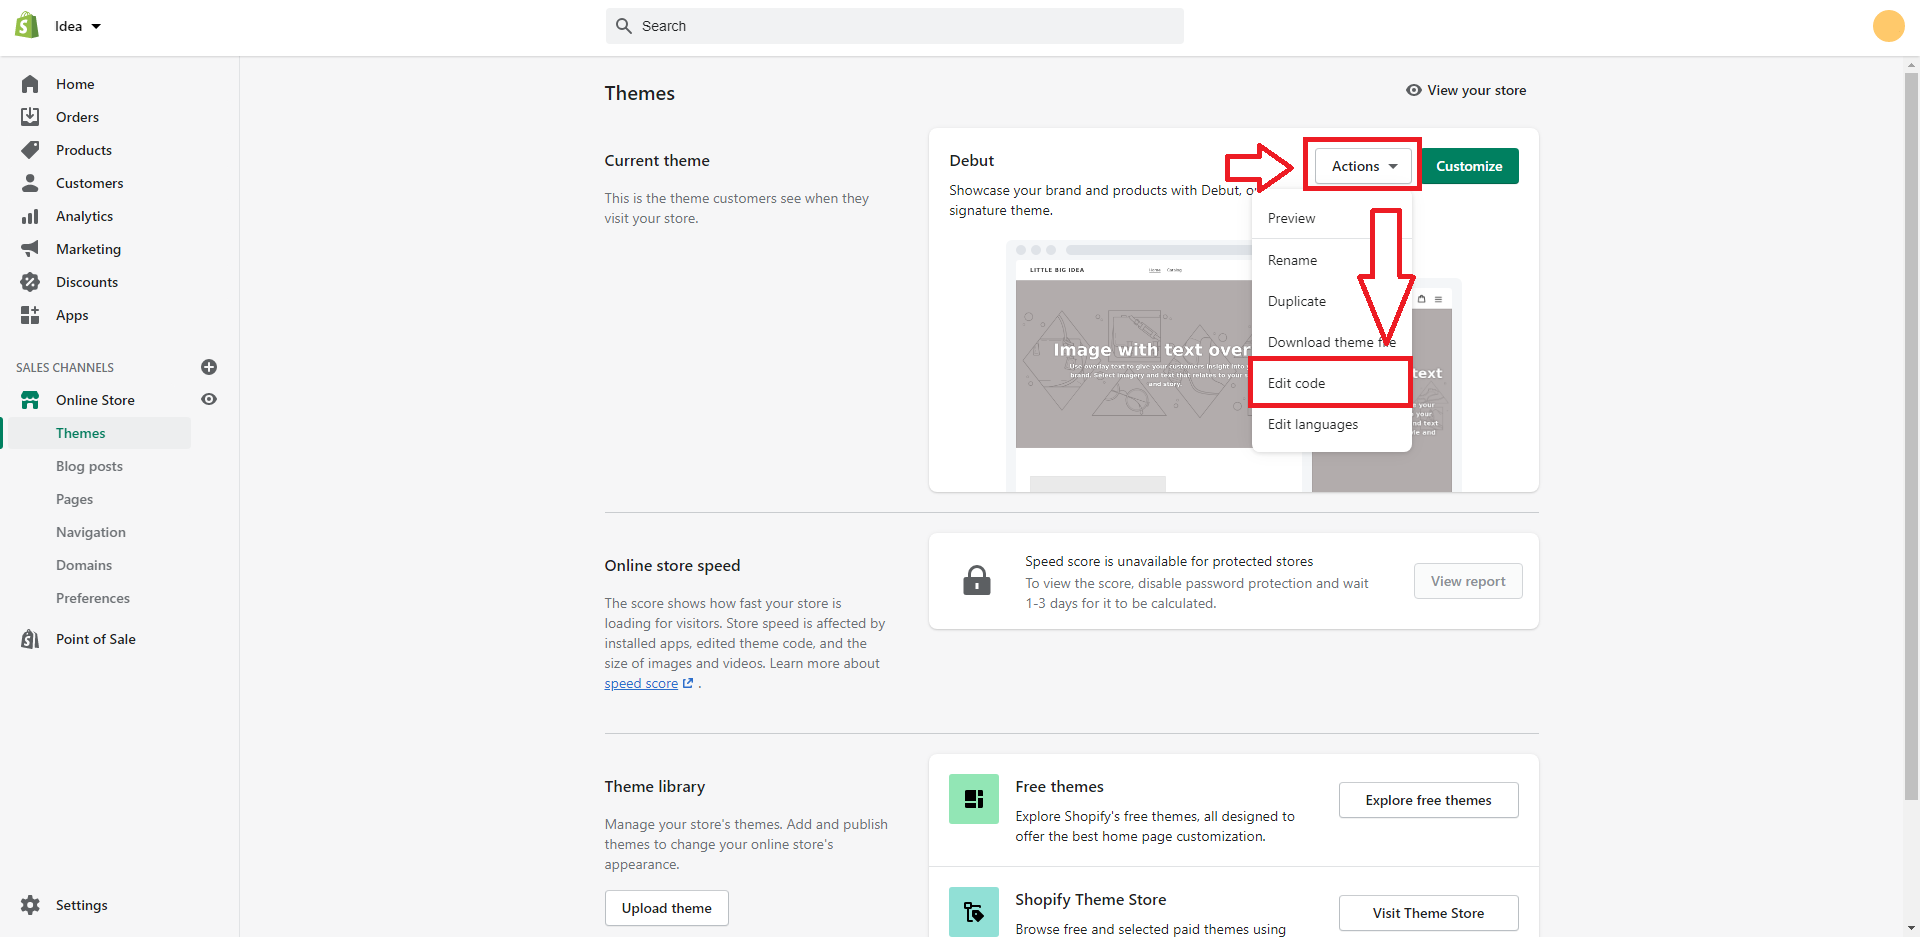
- From here, select “Themes”.
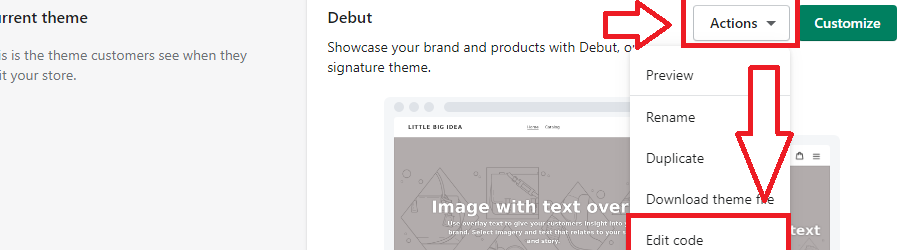
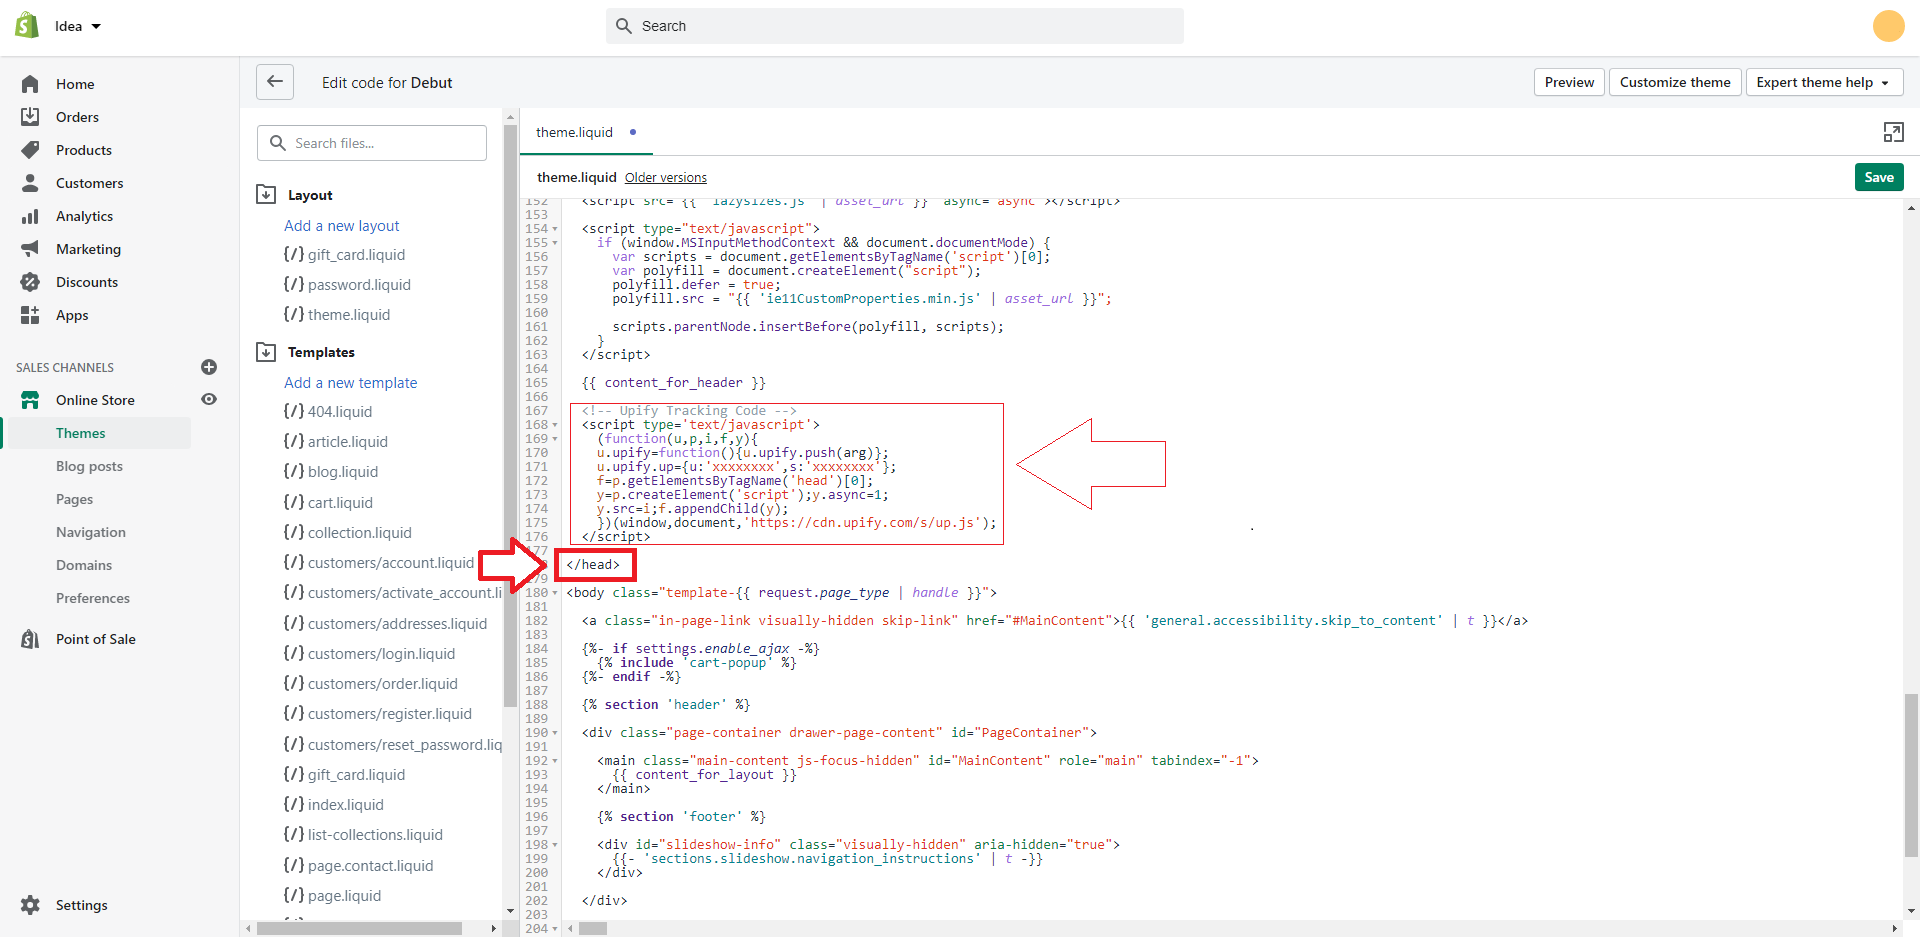
- Under the actions menu, select “Edit code” to start customizing your Shopify theme.
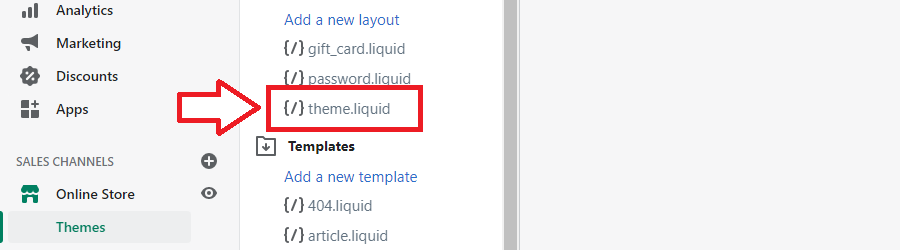
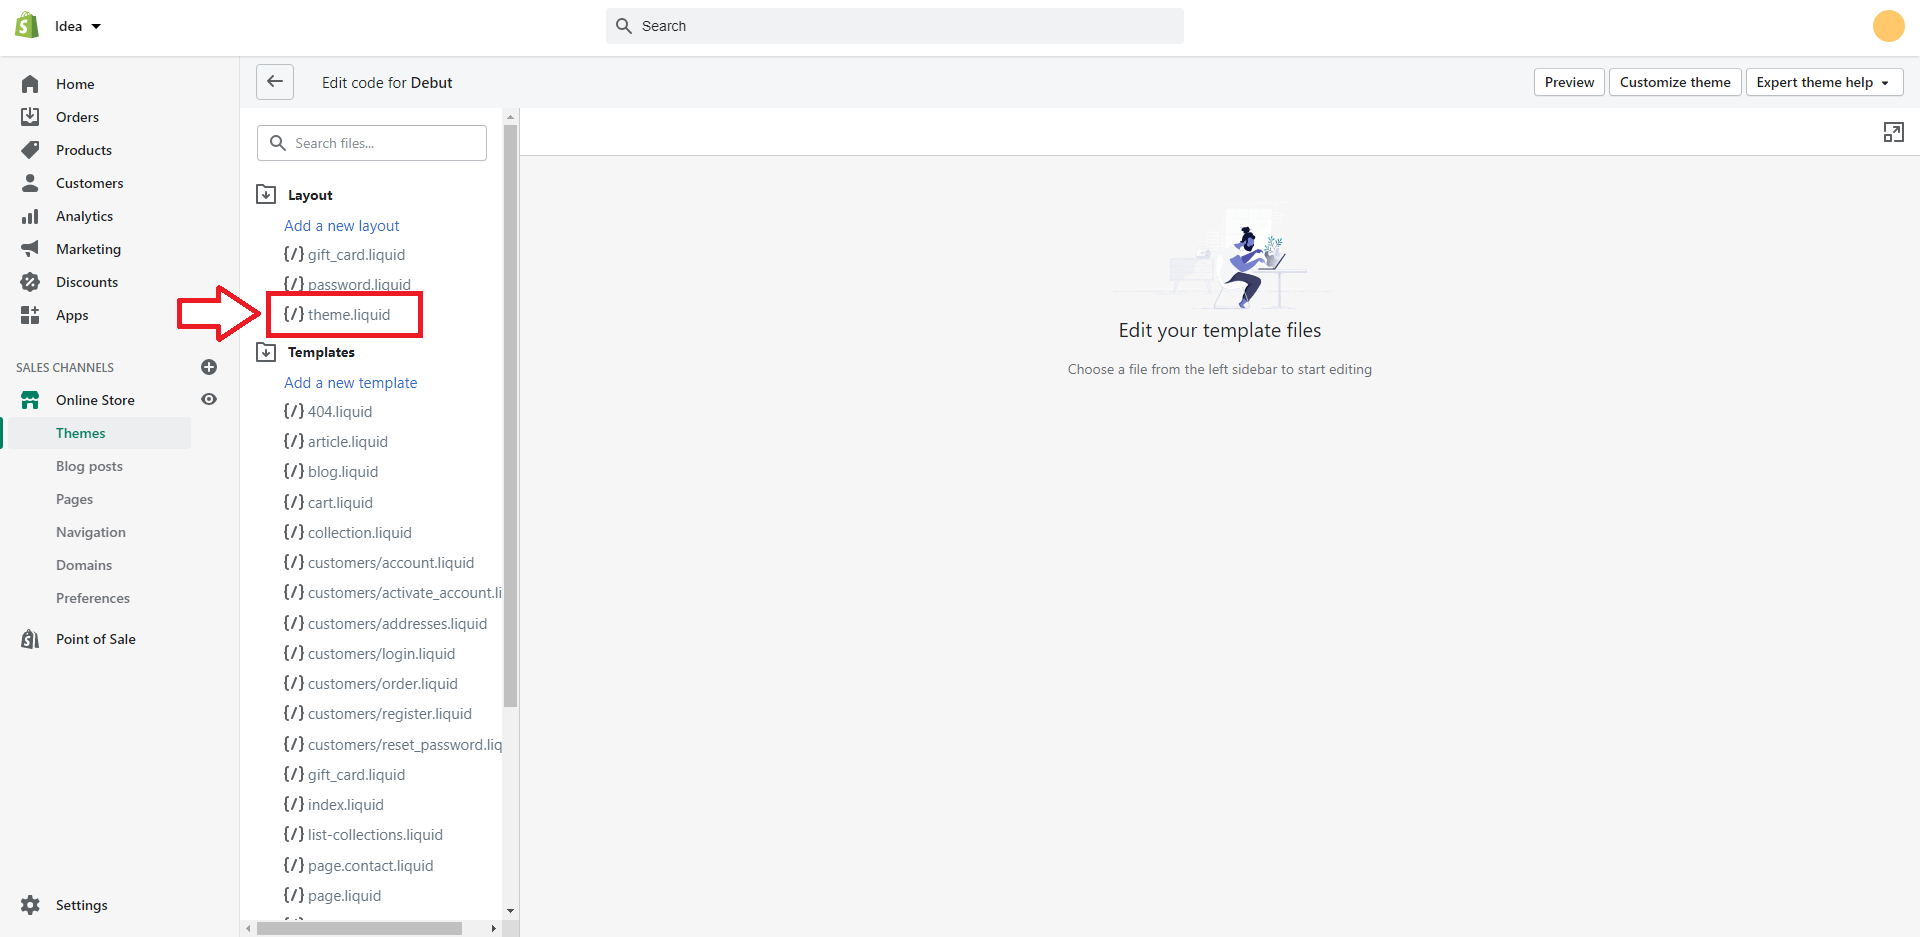
- Go to Layout and select the template theme.liquid.
- Find the closing
</head>tag.
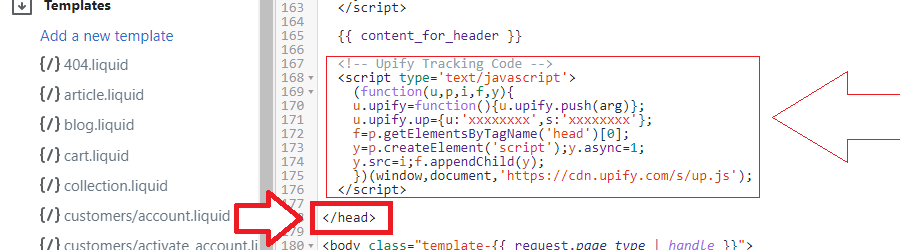
- Paste your tracking code before the closing
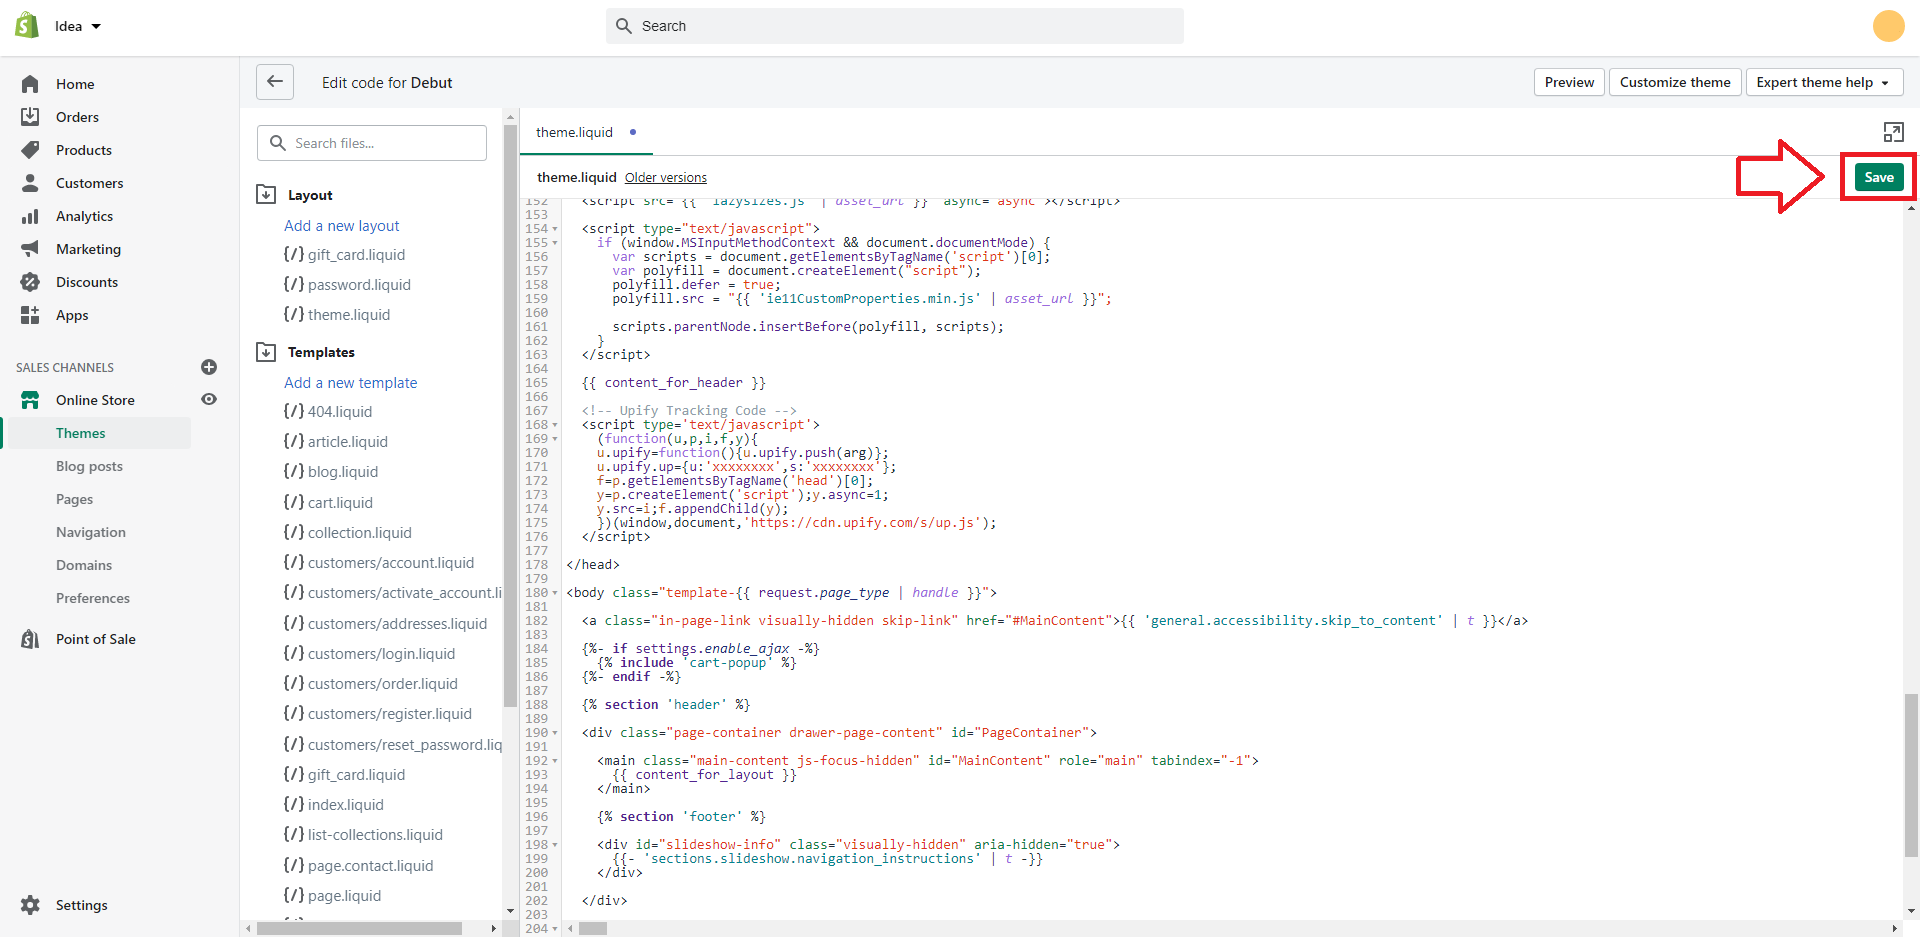
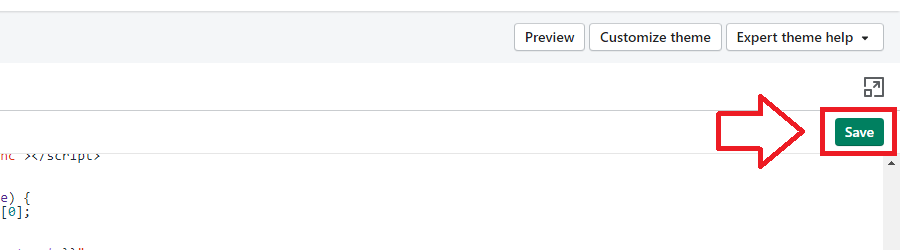
</head>tag. - Press “Save” to apply your tracking code to your site.
-
Squarespace
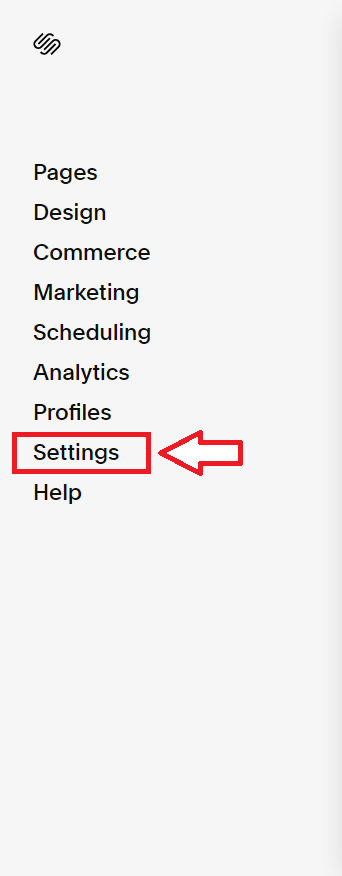
- Login to your Squarespace account and head to the admin area.
- On the side menu select “Settings”.

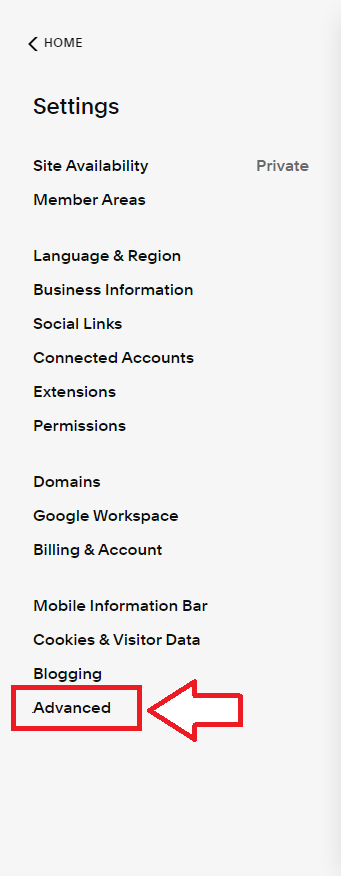
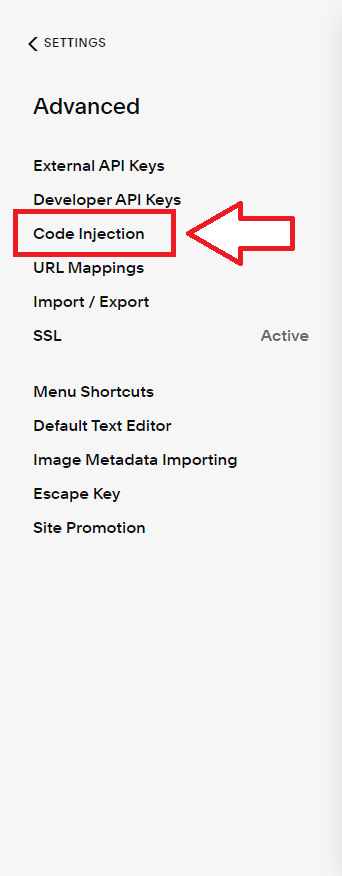
- Then select “Advanced”.

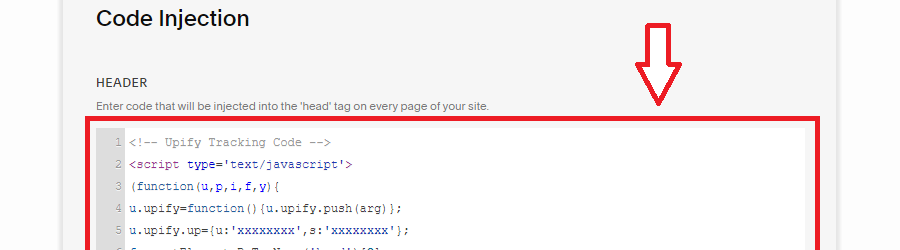
- Choose “Code Injection”.

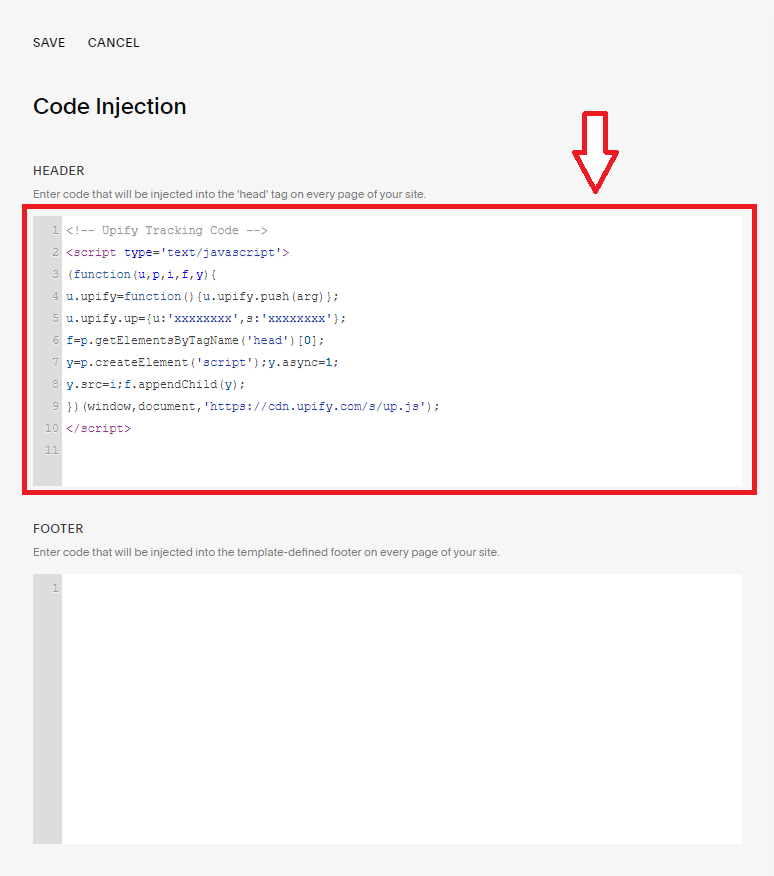
- On the code injection page, add your unique project tacking code to the “HEADER” section.
- Press “Save” to apply the tracking code to every page on your site.
-
Wix
- Login to your Wix account and head to the account area.
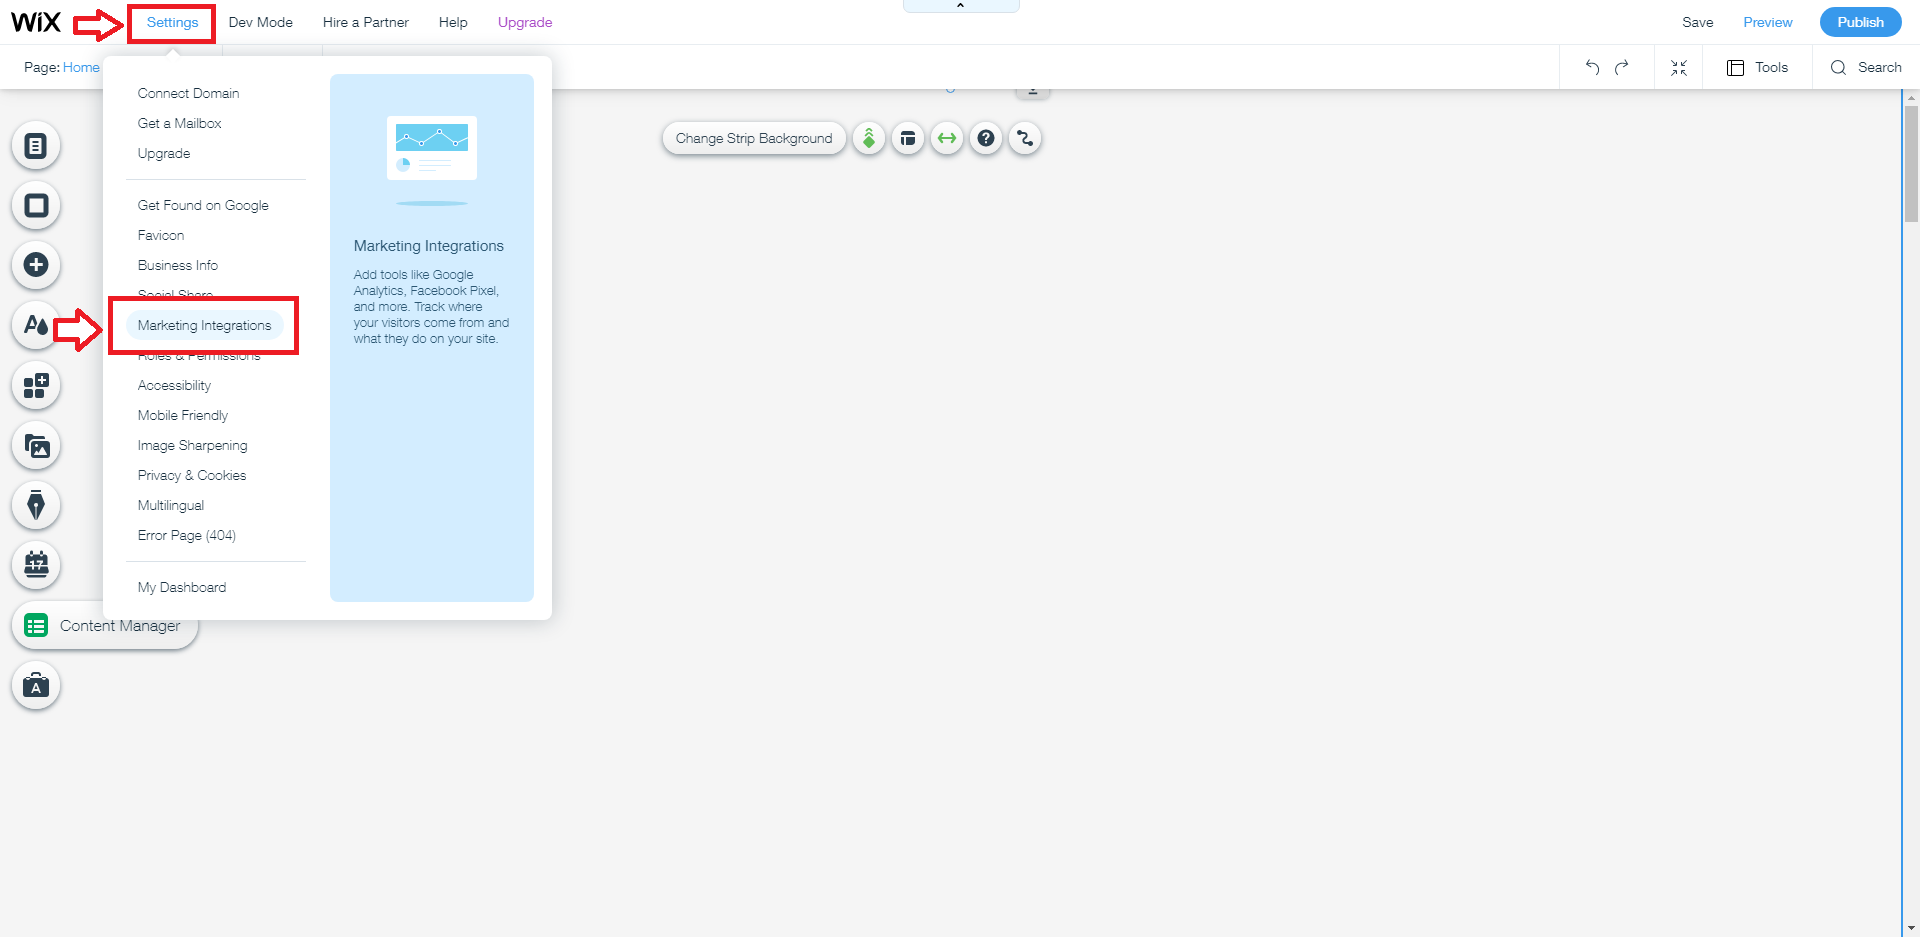
- In the top menu select Settings -> Marketing Integrations.
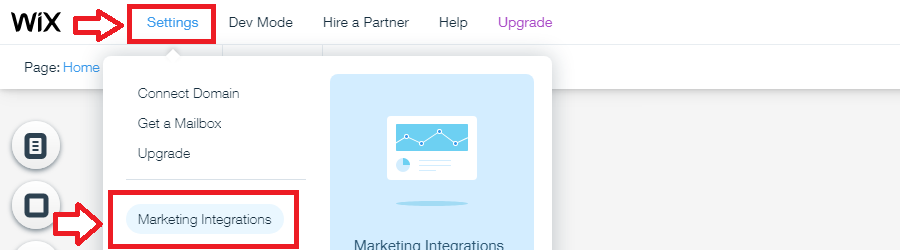
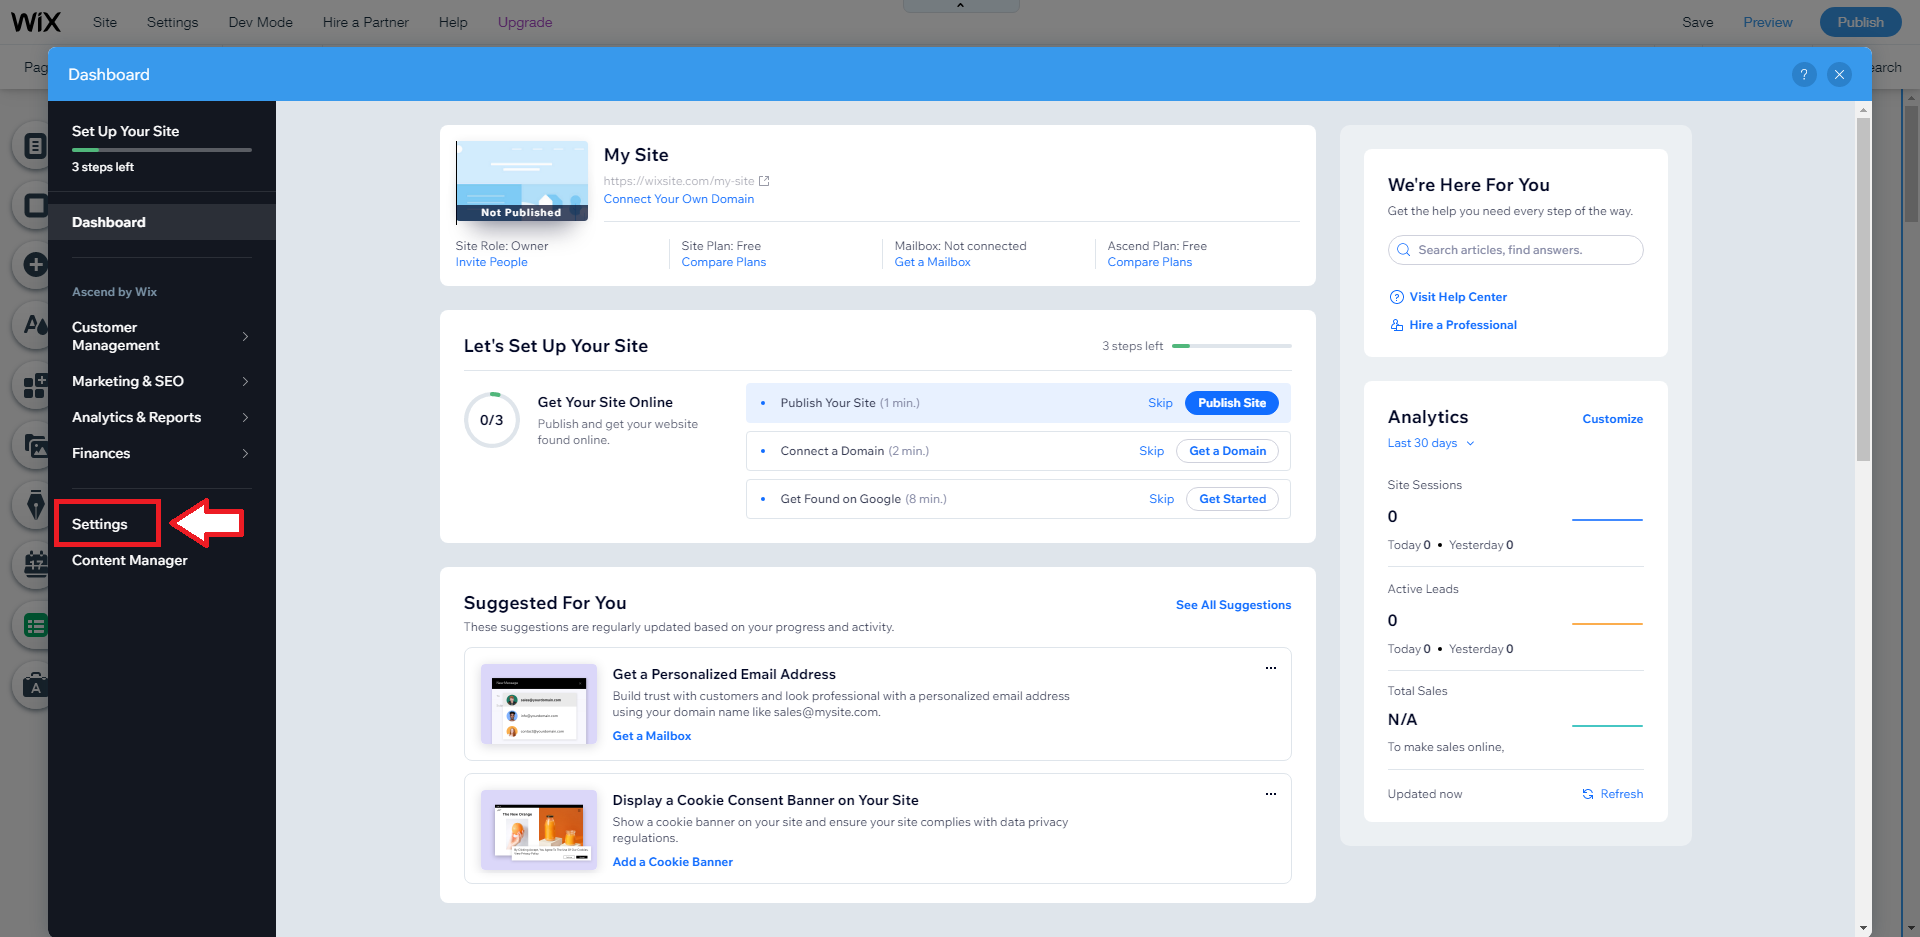
- A dashboard window will appear.
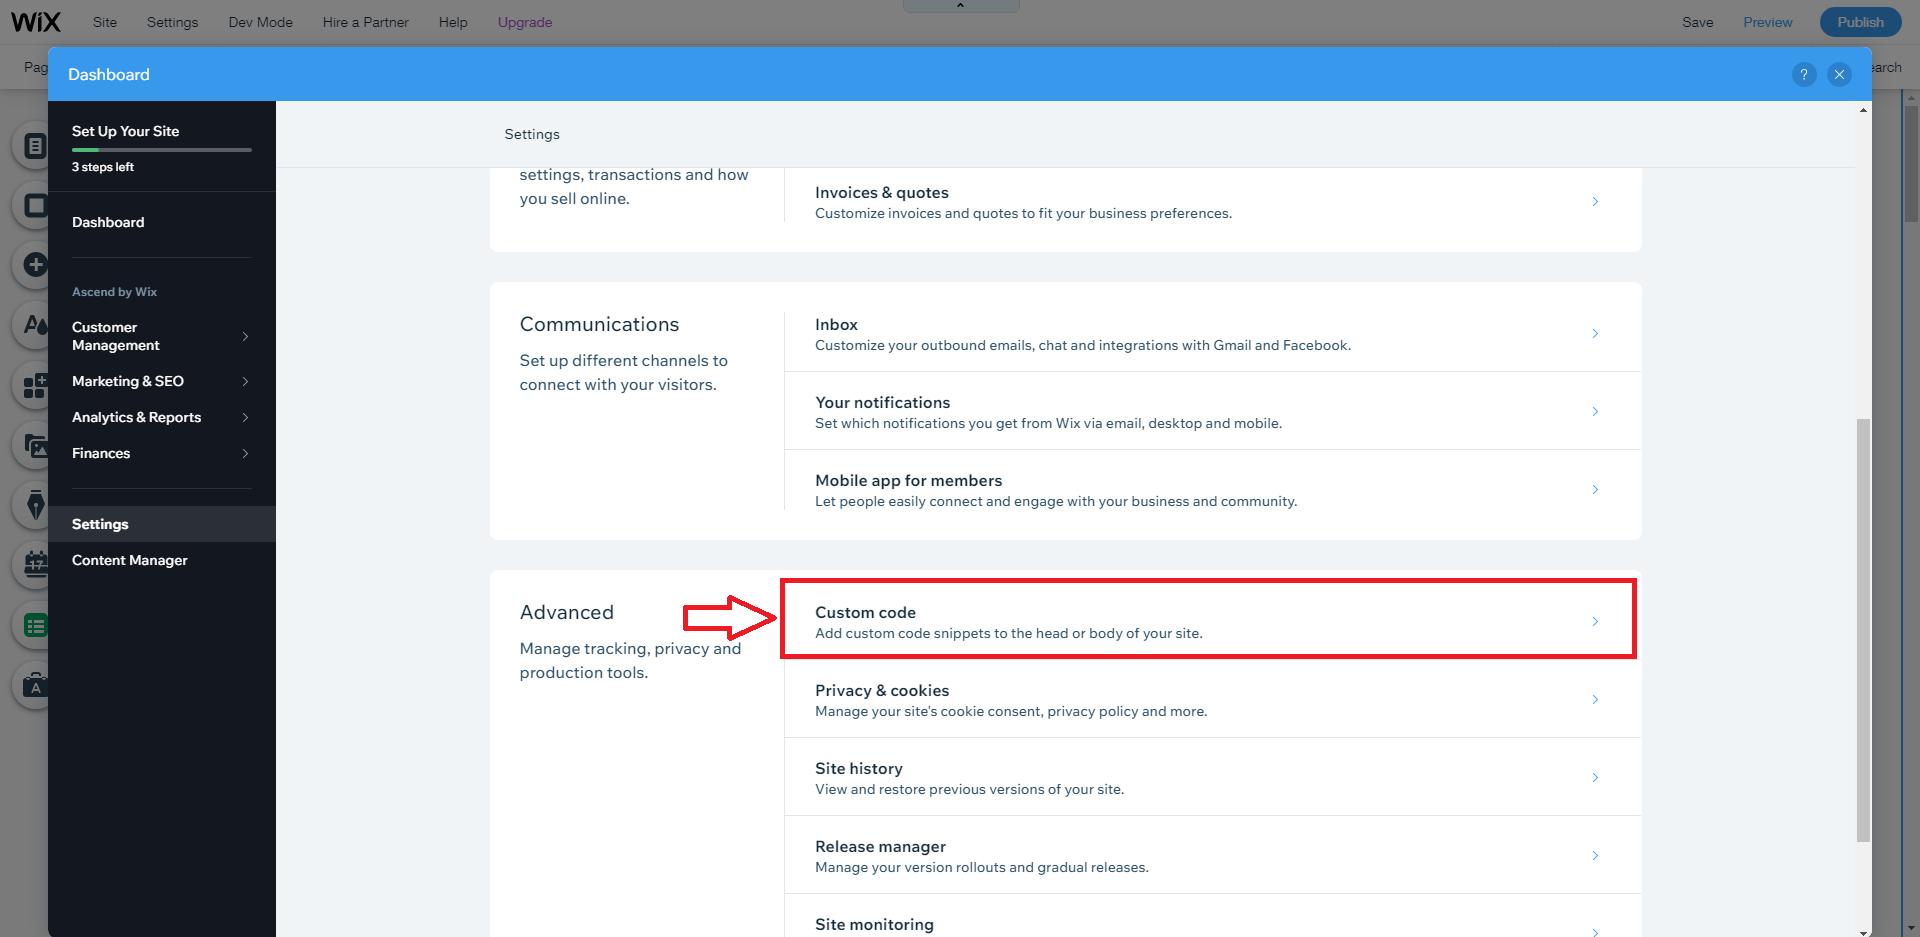
- From here select “Settings”.
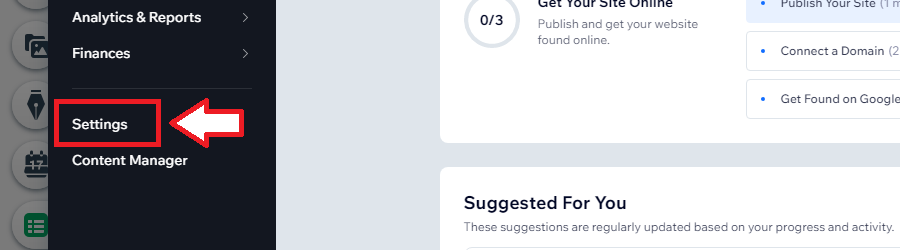
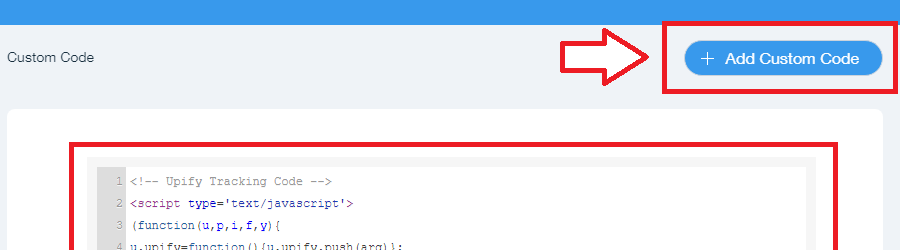
- Scroll down to Advanced -> Custom code.

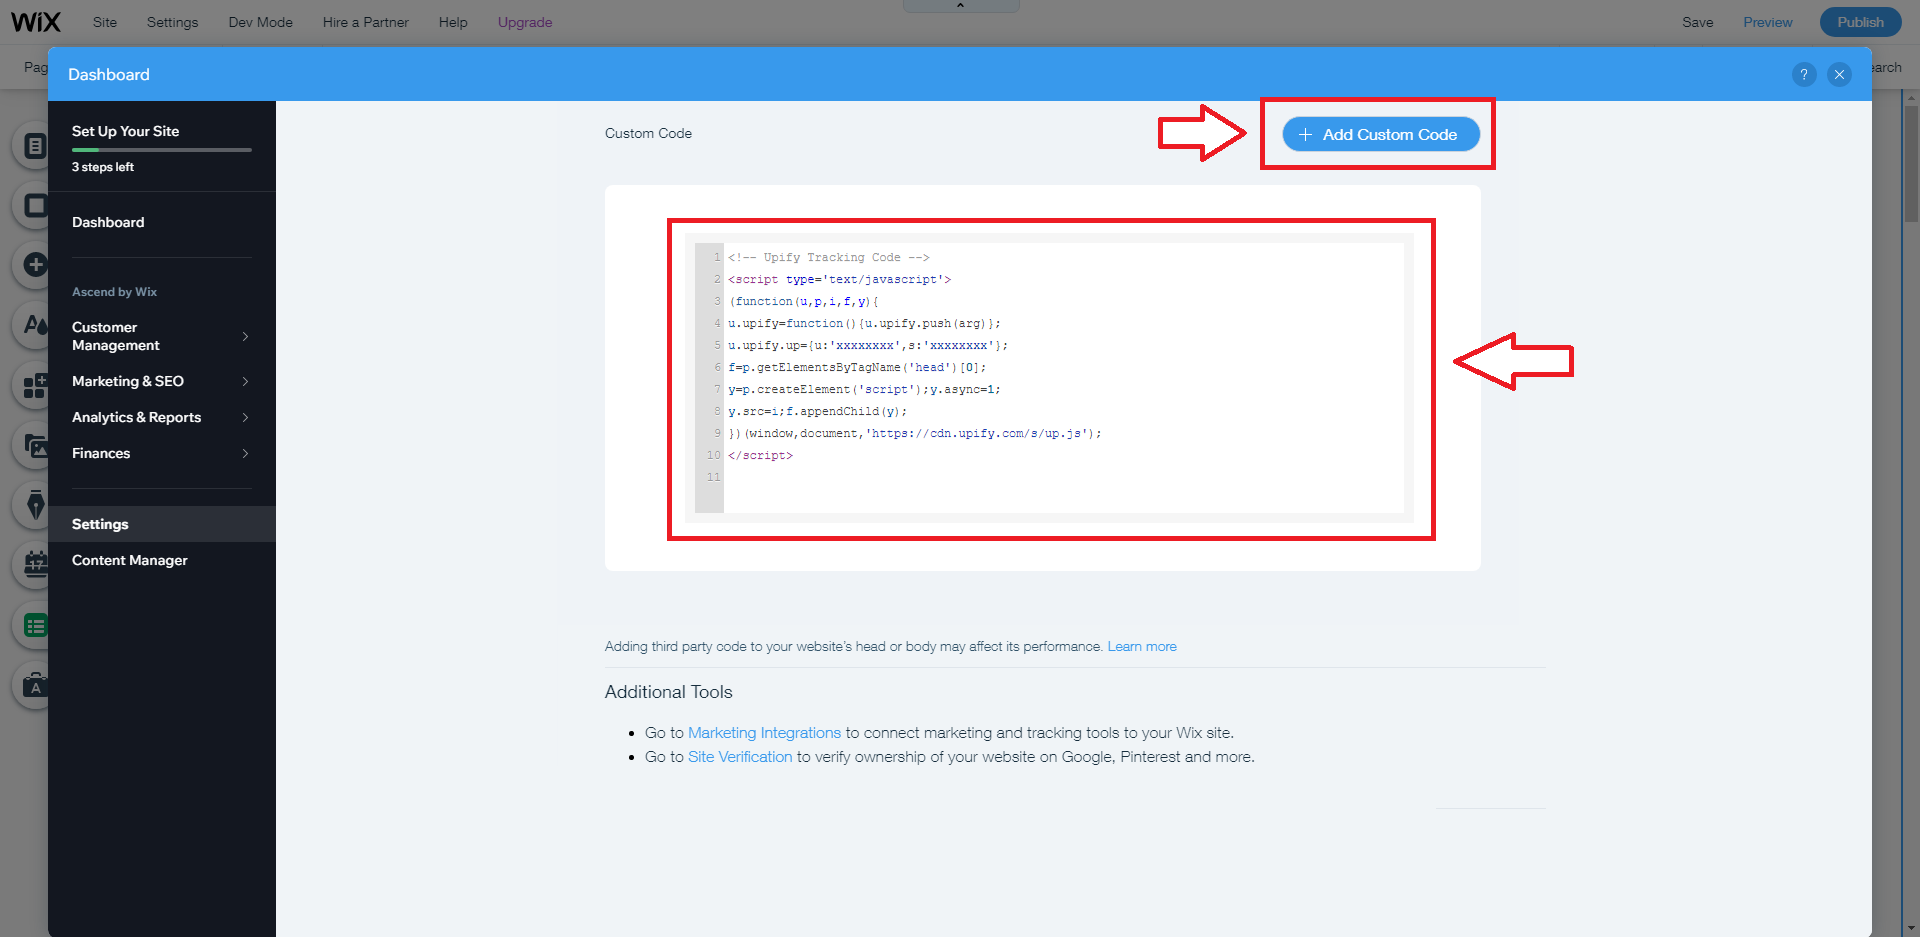
- Press “+ Add Custom Code” and choose the JavaScript option.
- Add your unique project tracking code to the section of your site.
-
WooCommerce
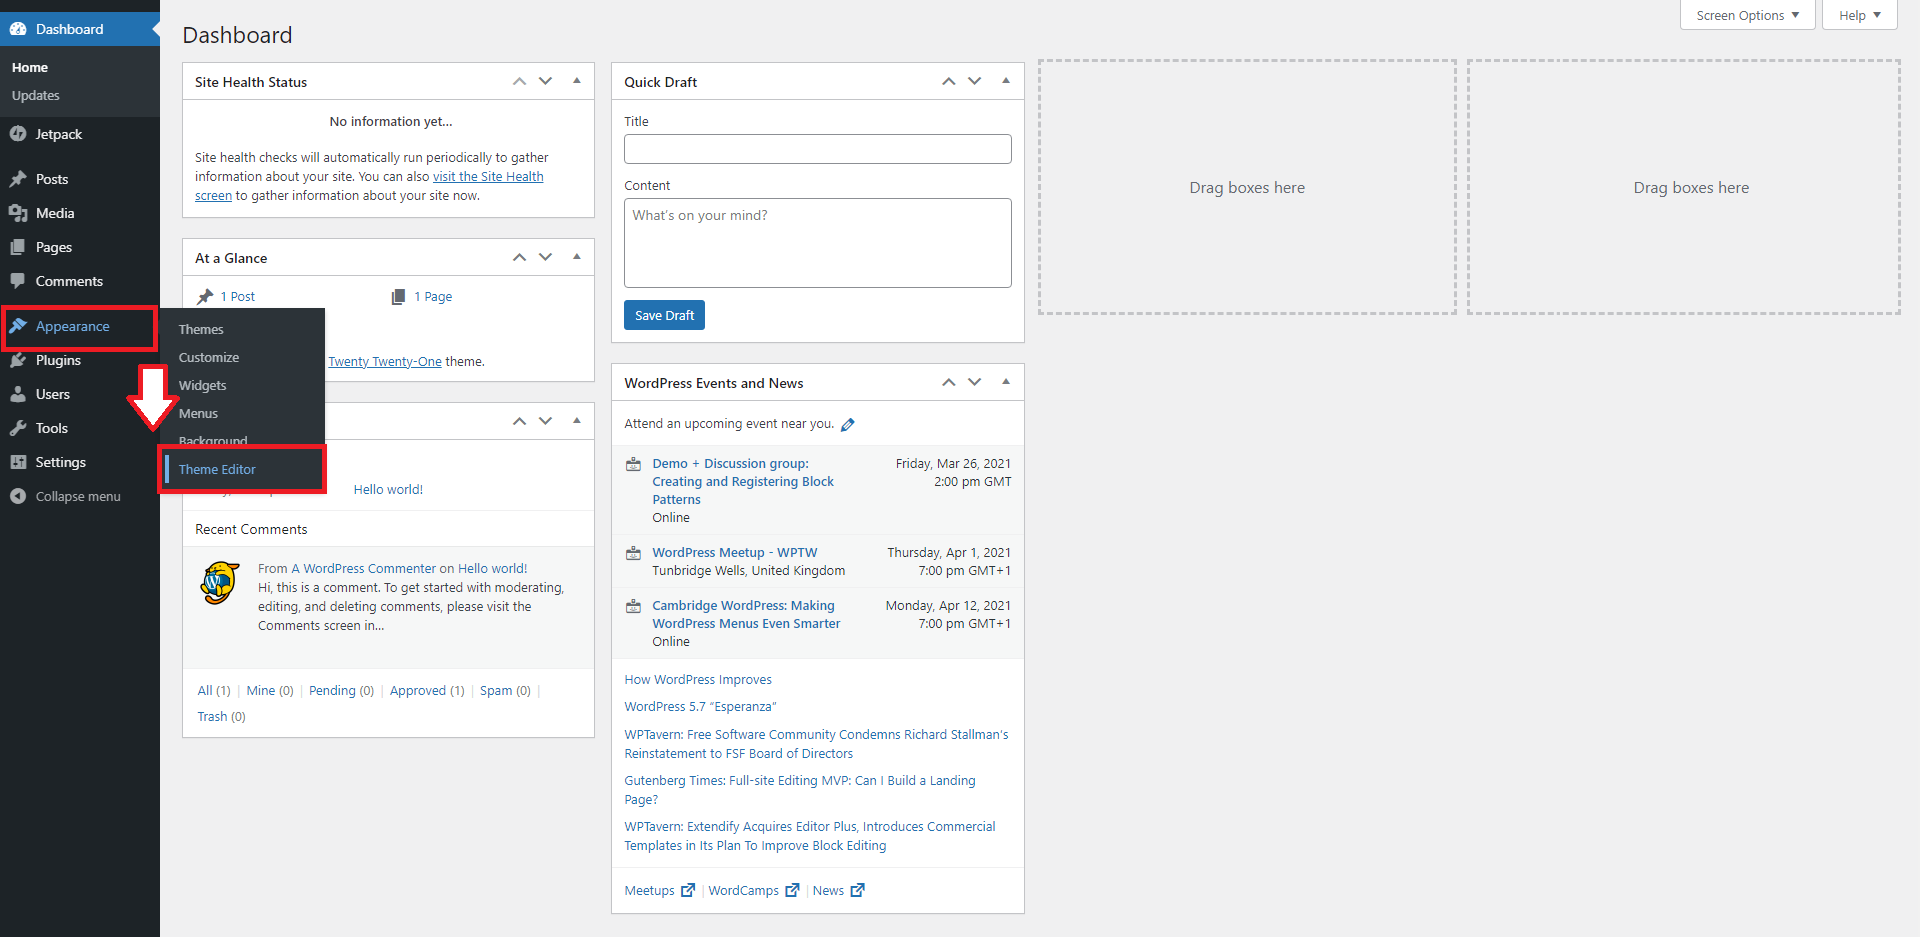
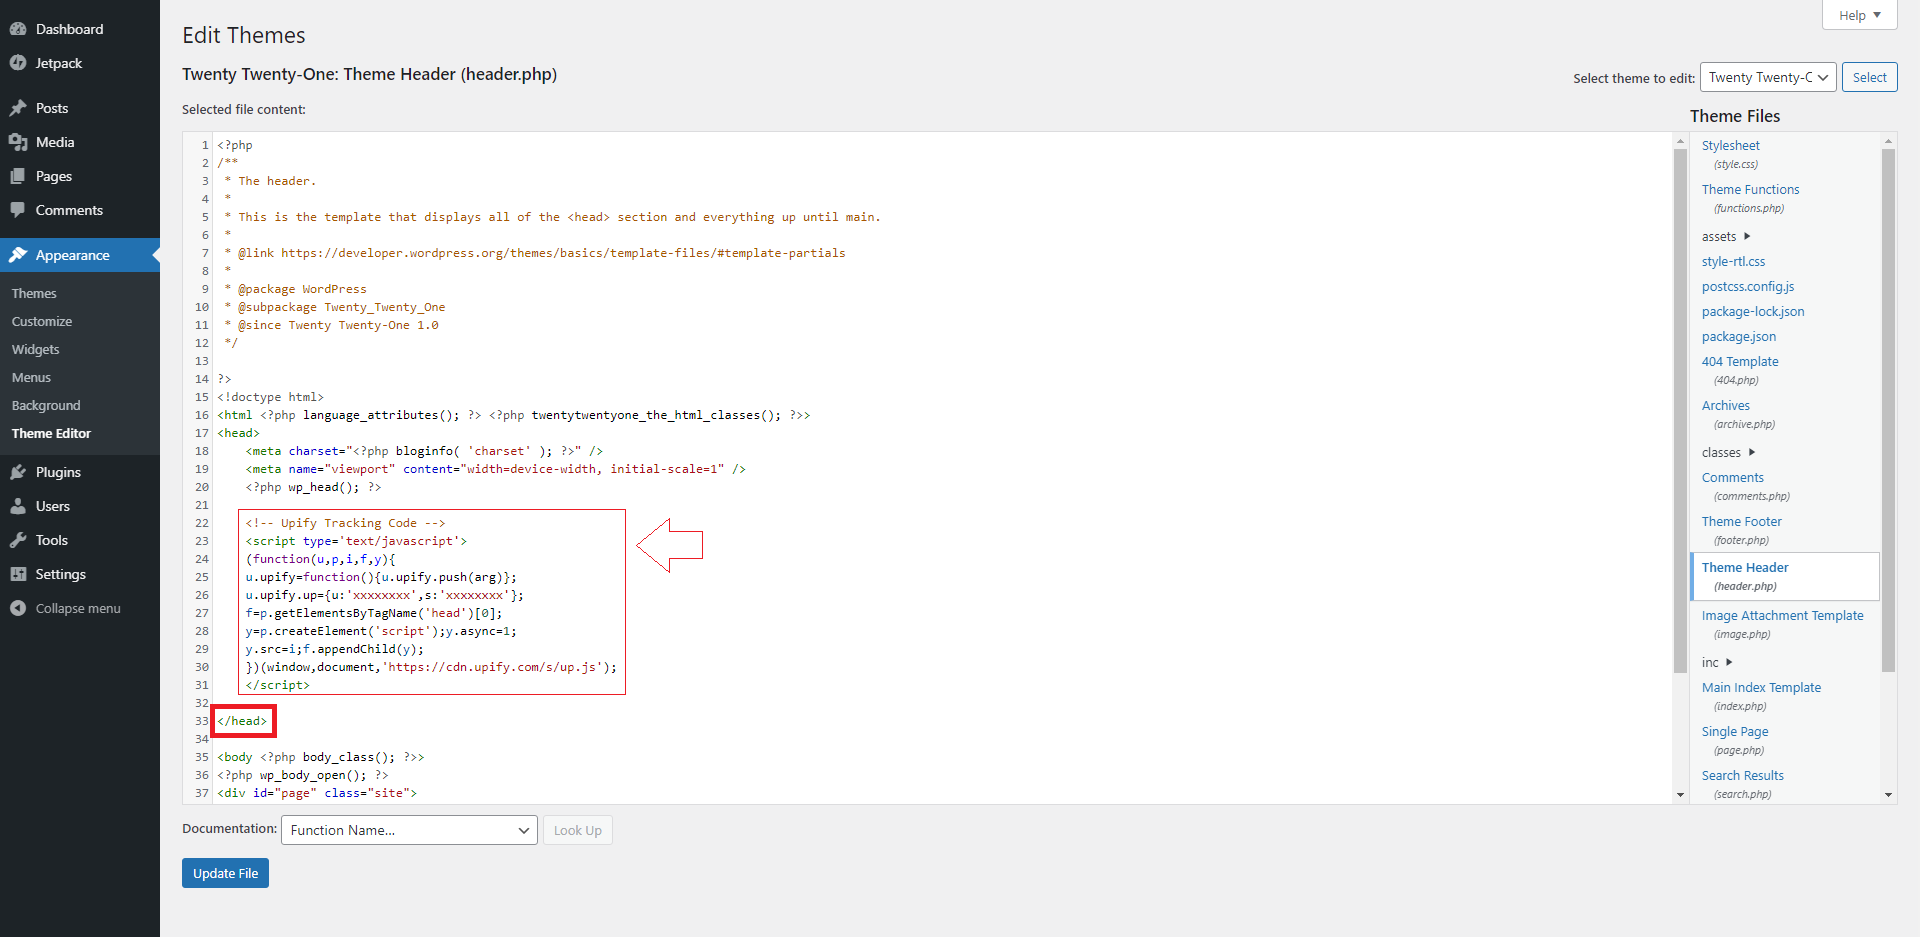
- First login to your WordPress website and head to the admin area.
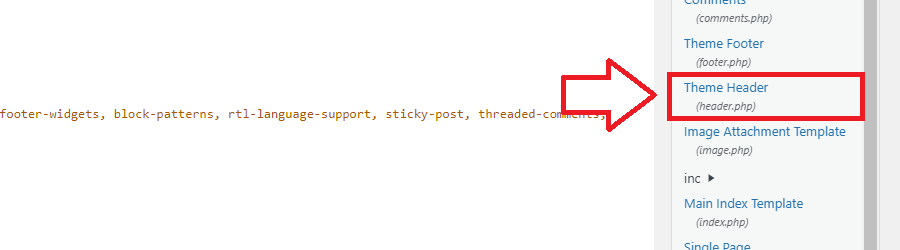
- Go to Appearance -> Theme Editor.

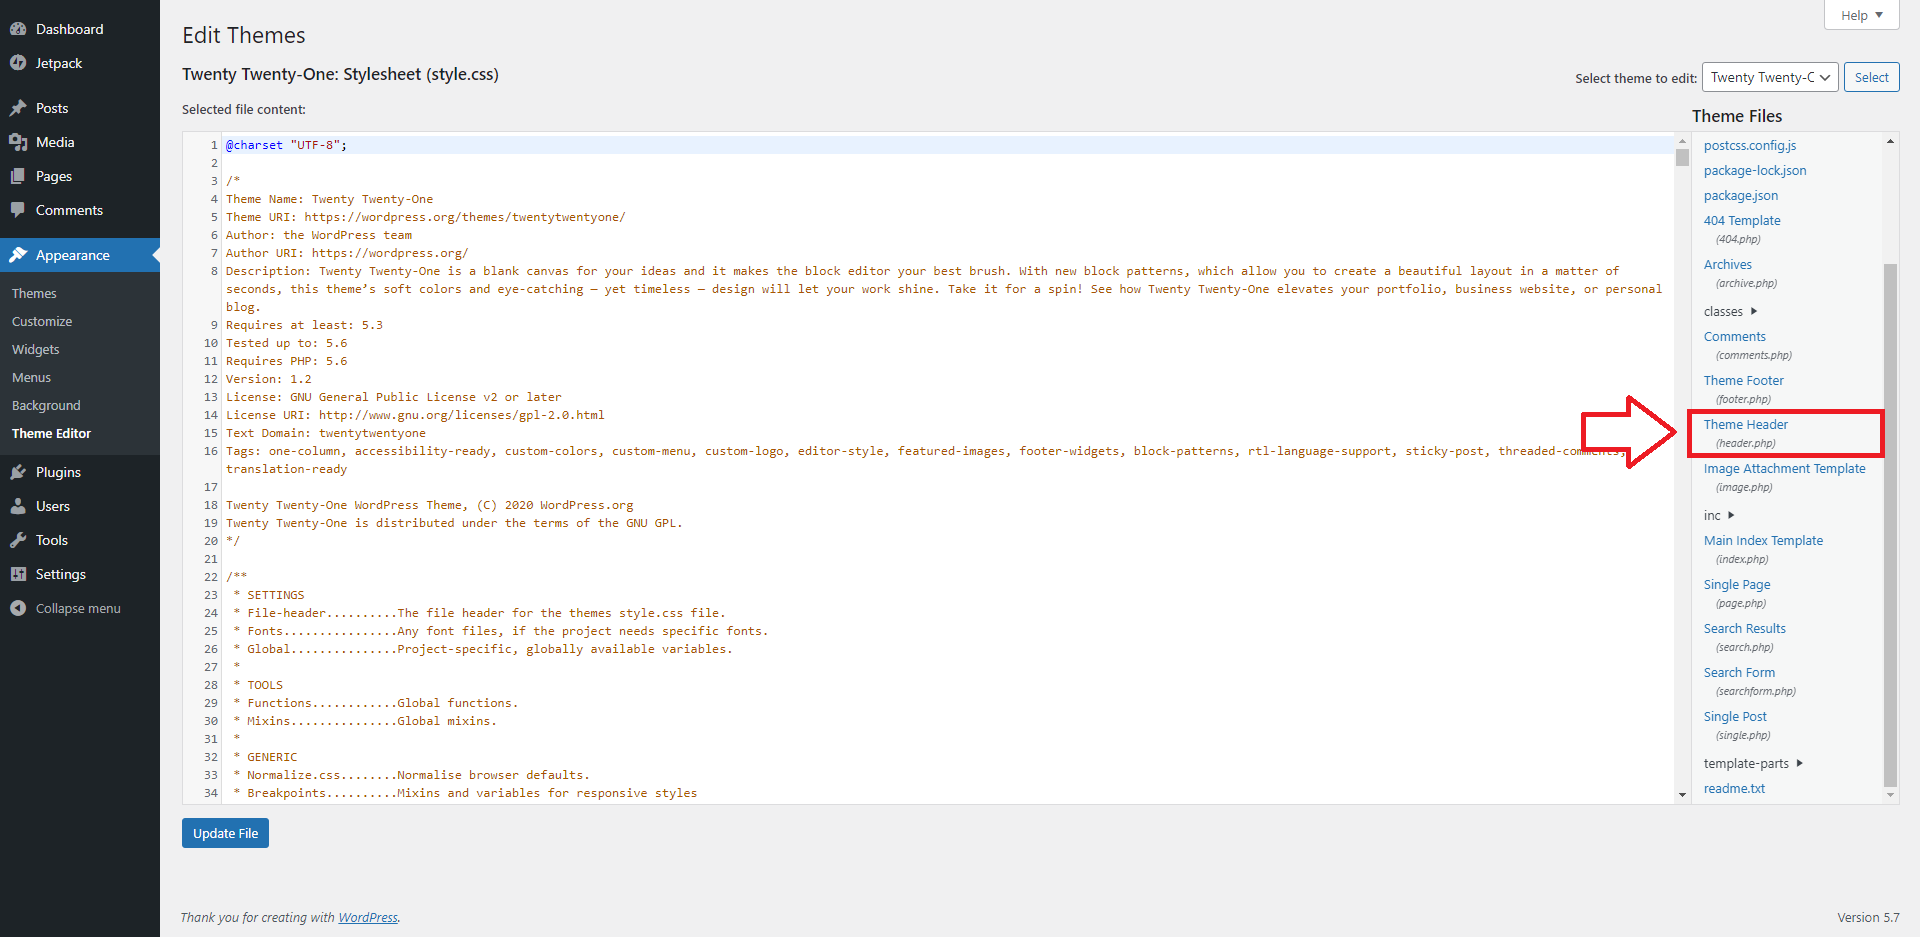
- When in the editor page, select the header.php file.
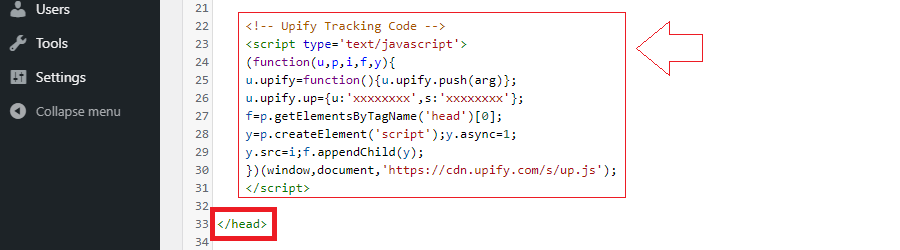
- Locate the tags
<head>and</head>. - Add your unique project tracking code before the closing head tag (
</head>). - Press “Update File” to add the tracking code to every page of your site.
-
WordPress
- The safest way to install your tracking code is by using a plugin.
- There are many WordPress plugins which can be used to add custom code.
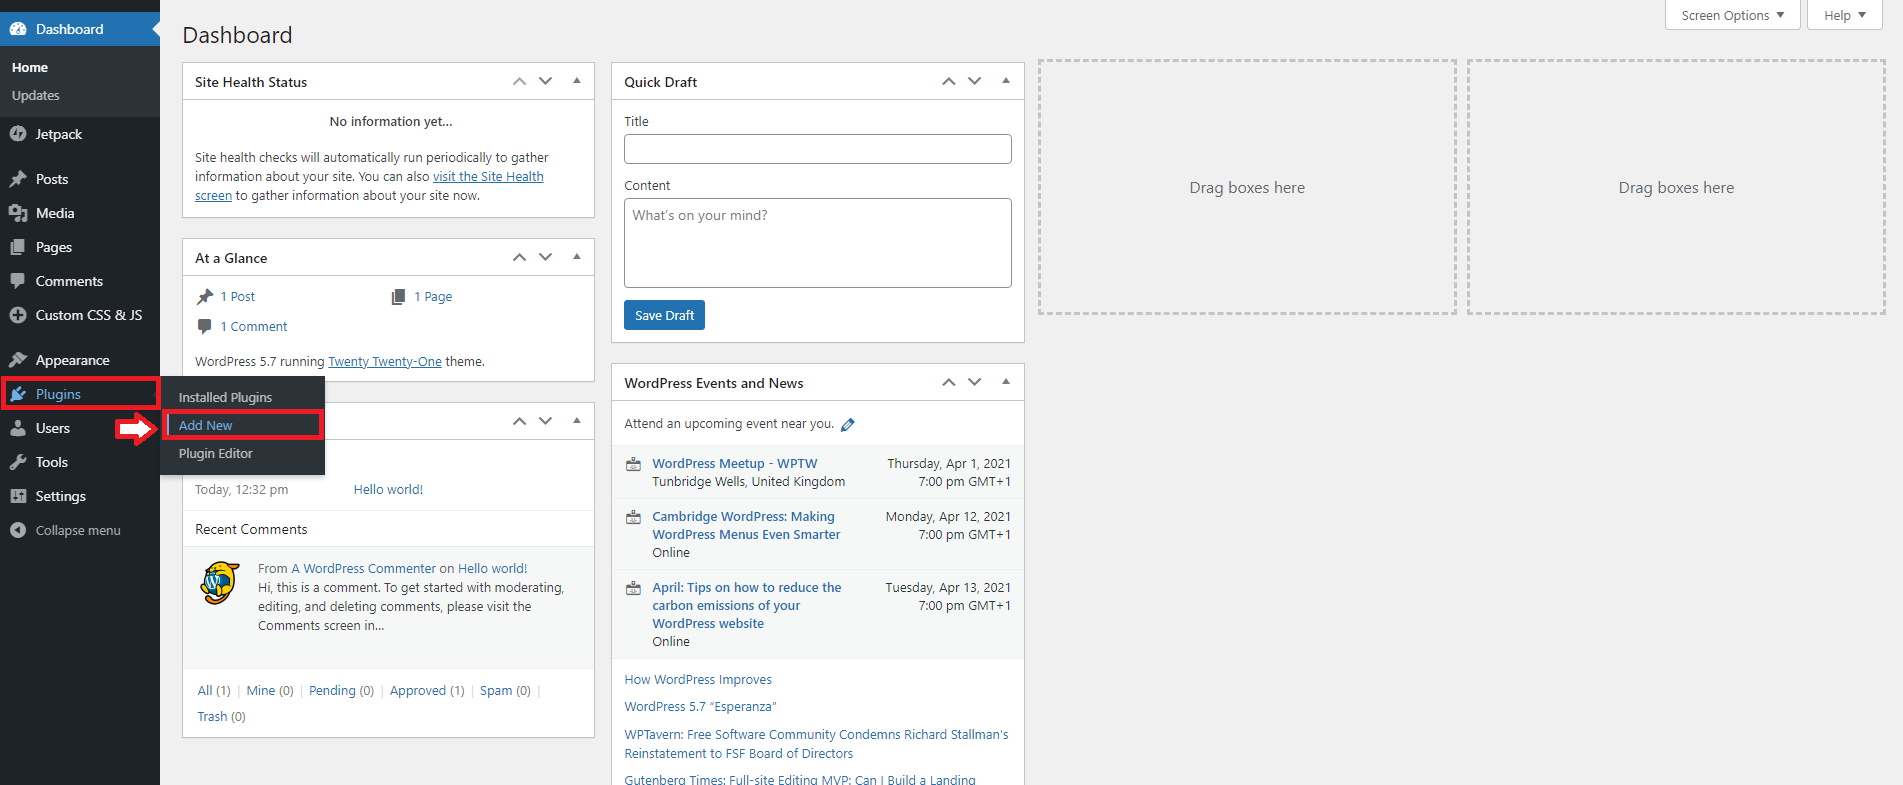
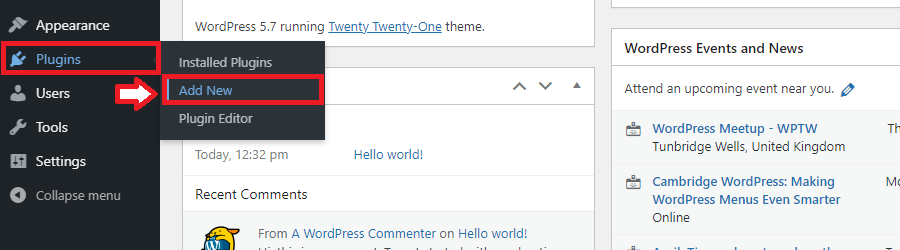
- To add this plugin. First login to your WordPress website and head to the admin area.
- Select Plugins -> Add New.
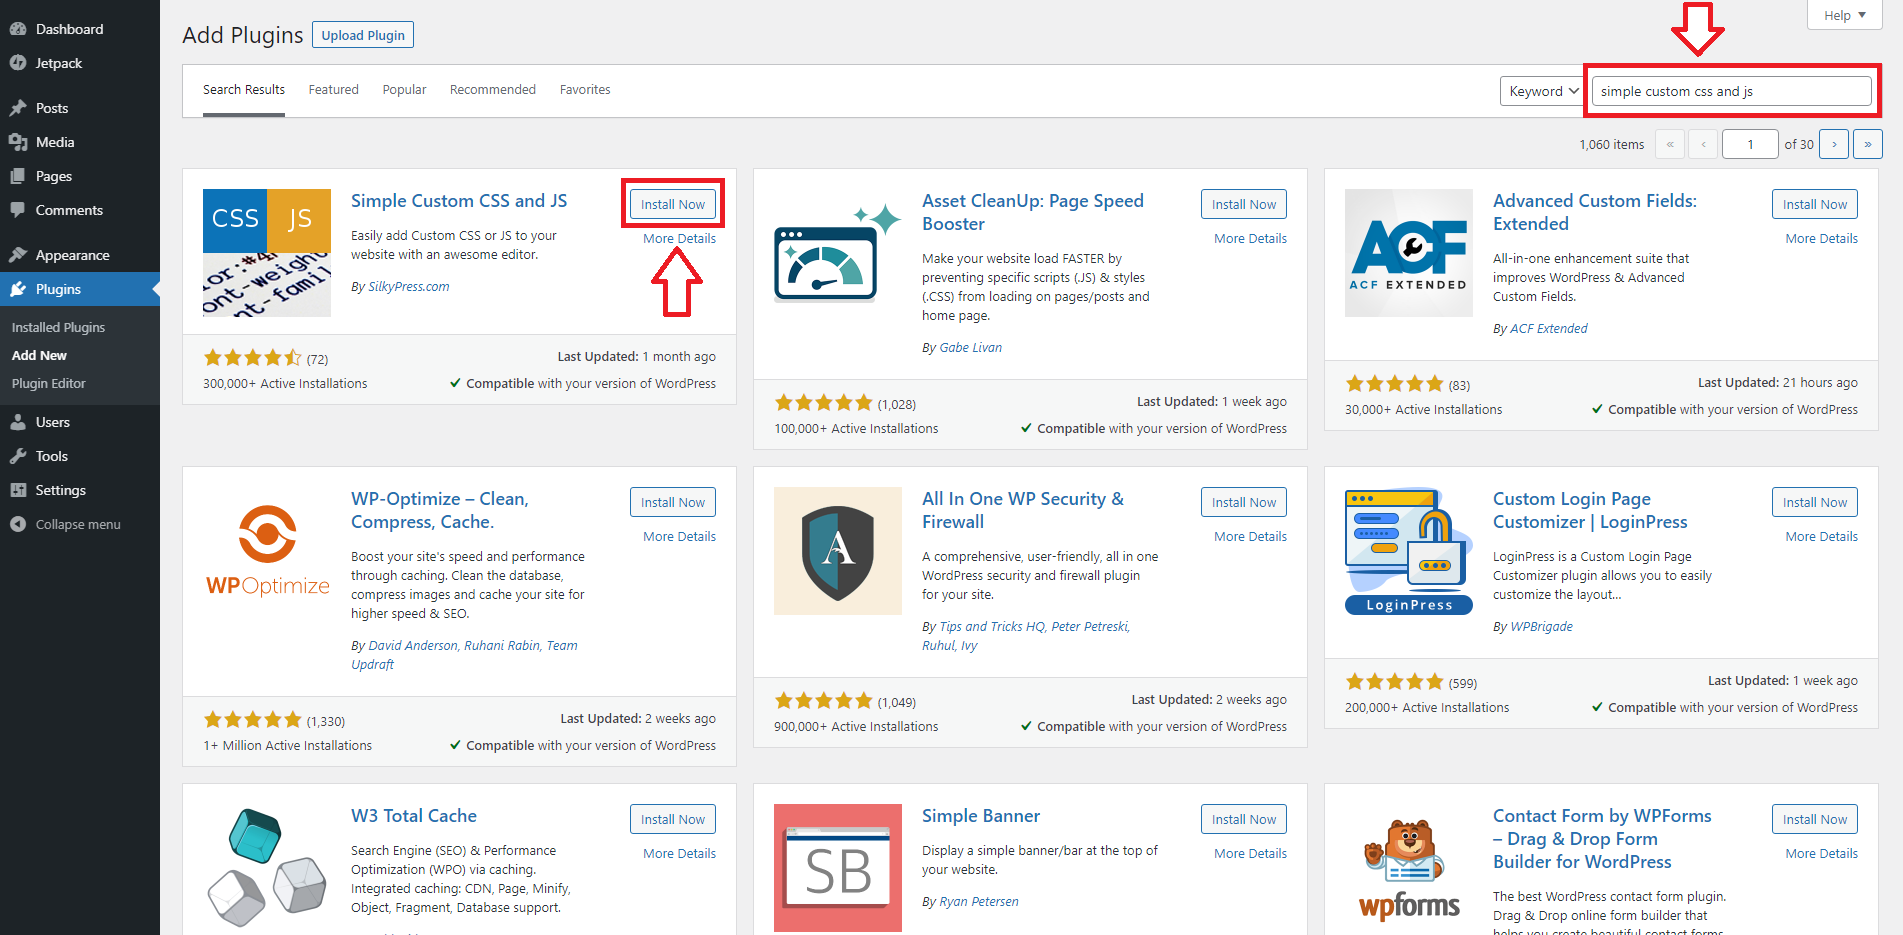
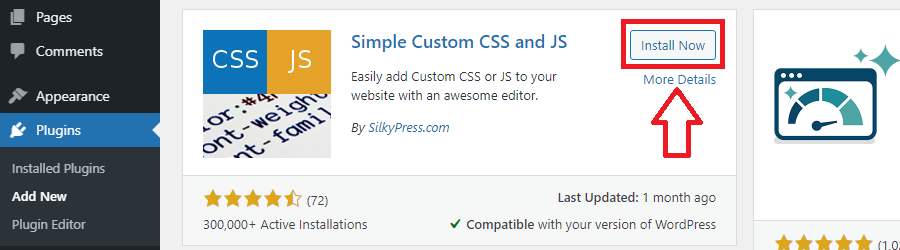
- Search for “simple custom css and js”.
- Press “Install Now” and then “Activate” the plugin.
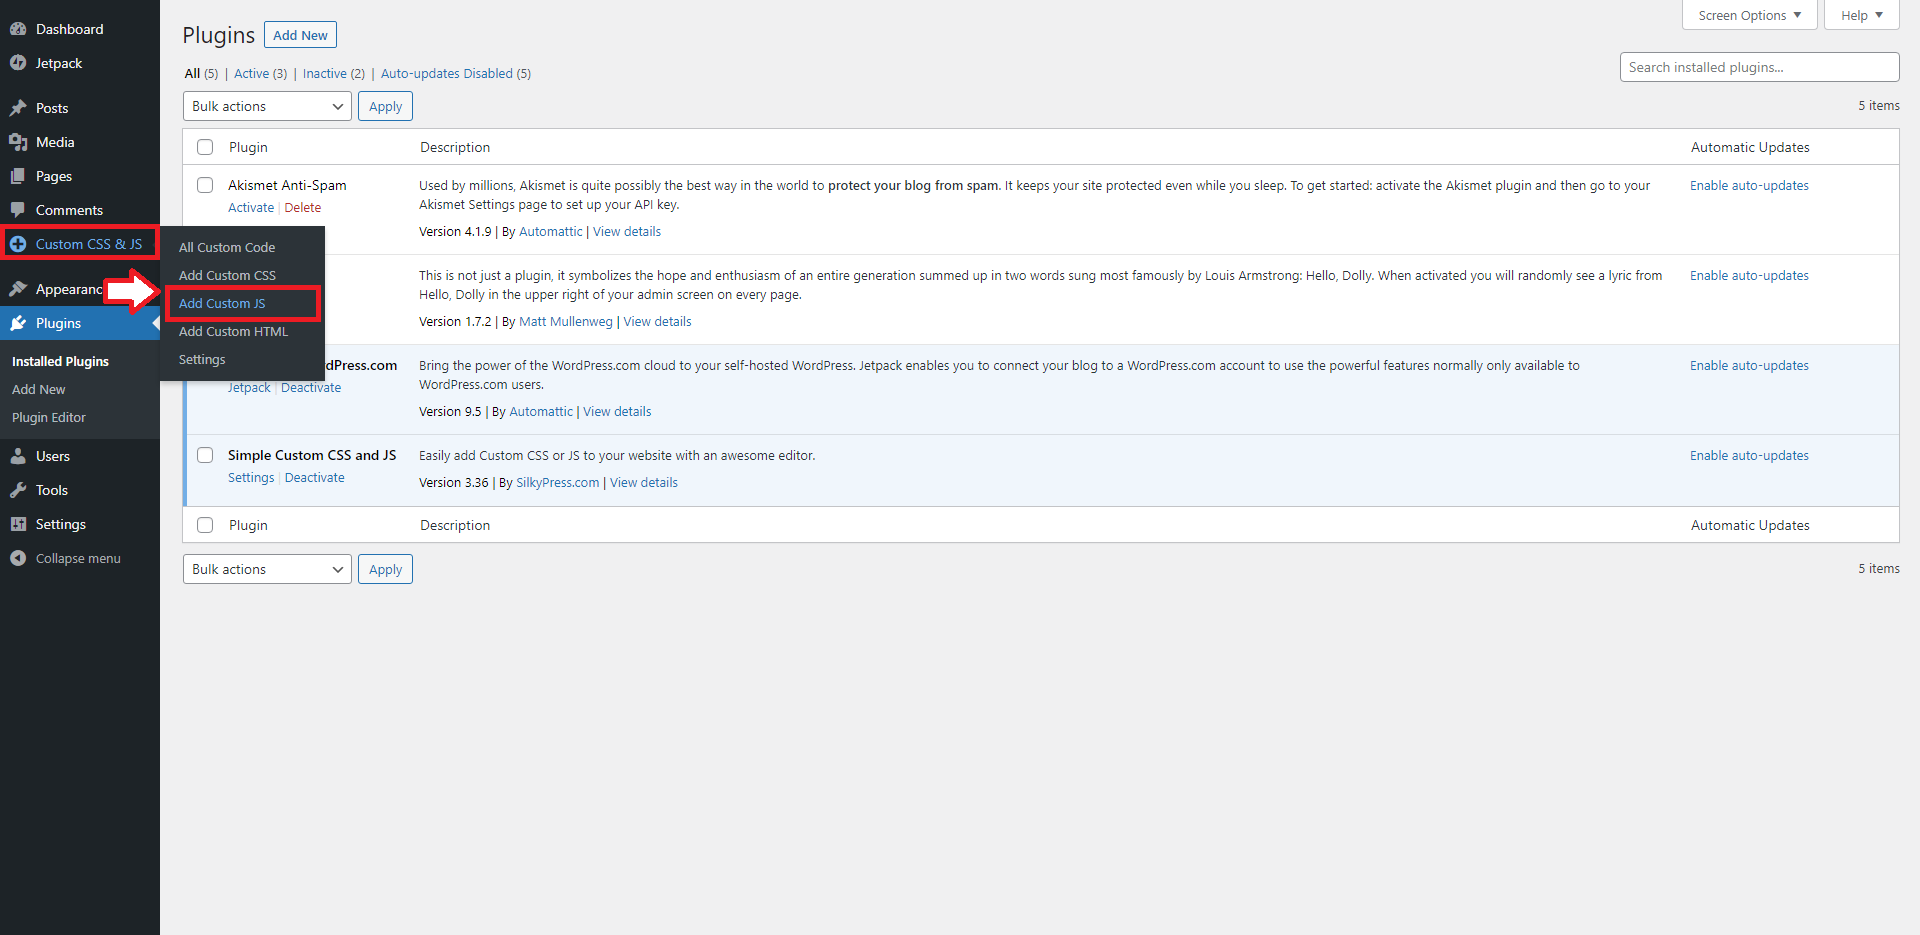
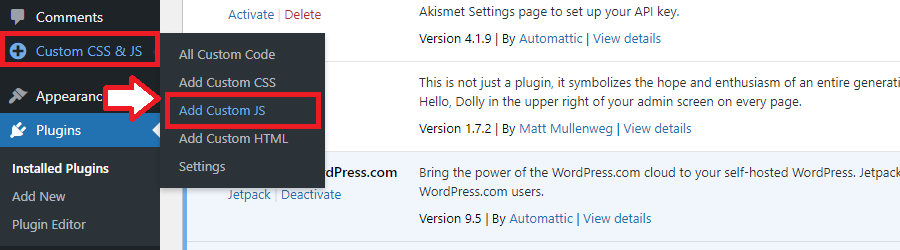
- A new sidebar menu named “Custom CSS & JS” will appear.
- From here, select “Add Custom JS”.
- Give your custom code entry a name (e.g. Upify Tracking).
- Paste your custom project code into the main text area.
- Press “Publish” to add the tracking code to every page of your site.
-
All other platforms
- If you are using another platform, or a bespoke build you can add the tracking code manually.
- Search your website files for the
<head>and</head>tags. These are found in the header area of your site, and is where you would place any custom tracking code. - Once you’ve found your
<head>tags, paste your tracking code before the closing</head>tag. - Save the files to confirm the changes.
- Tip: Verify your tracking code to check it’s been successfully installed.